Tuckpointing is a commonly used technique when it comes to maintaining brick masonry structures. However, many people are not aware of what it is or why it is necessary. From preventing structural damage to improving the overall appearance of a building, tuckpointing plays a crucial role in preserving the integrity of brickwork. In this article, we will discuss all you need to know about tuckpointing, including its purpose, process, and benefits. Whether you are a homeowner or a building owner, understanding tuckpointing can help you make informed decisions about the upkeep of your property. So, let’s delve into the world of tuckpointing and discover its importance in the world of brick masonry.
Table of Contents
Preparations for Tuckpointing
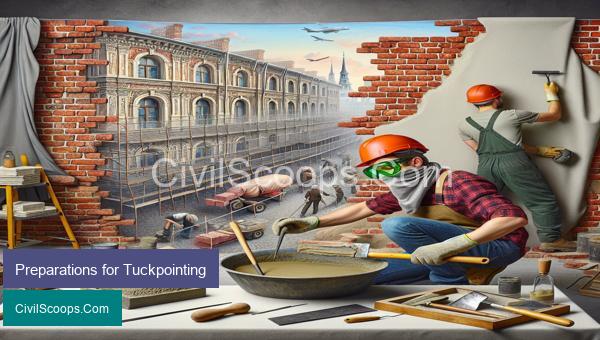
Tuckpointing is a method used to repair damaged or deteriorating mortar joints in brick or stone structures. As a civil engineer, it is important to understand the preparations necessary for a successful tuckpointing project. Here are some important steps to follow for proper tuckpointing preparations:
1. Evaluation of the Structure: Before starting any tuckpointing work, it is crucial to thoroughly evaluate the structure to determine the extent of the damage. This can be done by conducting a visual inspection or using specialized equipment such as a borescope to examine the condition of the mortar joints.
2. Safety Precautions: Tuckpointing work involves working at heights and handling power tools, so it is important to take safety precautions before starting the work. This may include wearing personal protective equipment (PPE) such as gloves, safety glasses, and hard hats, as well as ensuring proper scaffolding or ladder safety.
3. Gathering Materials and Tools: Tuckpointing requires specific tools and materials such as trowels, joint rakers, grinders, masonry brushes, and mortar mix. As a civil engineer, it is important to ensure that these materials and tools are of high quality and suitable for the specific project at hand.
4. Removal of Damaged Mortar: The next step in tuckpointing preparations is the removal of damaged or deteriorated mortar. This can be done using a grinder or joint raker, but it is important to be careful not to damage the surrounding bricks or stones during this process.
5. Cleaning the Joints: After removing the damaged mortar, the joints must be thoroughly cleaned to remove any debris or loose particles. This can be done using a masonry brush or compressed air, depending on the condition of the joints.
6. Mixing the Mortar: The type and consistency of the mortar used for tuckpointing are crucial for the success of the project. As a civil engineer, you will need to determine the appropriate mix based on the type of structure and the condition of the existing mortar joints. It is important to mix the mortar properly to achieve a consistent and workable mixture.
7. Application of the Mortar: Once the mortar is mixed, it is time to apply it to the cleaned joints. It is important to use the correct technique and tools to ensure that the mortar is evenly and firmly applied. This may involve using a trowel to push the mortar into the joint and a jointing tool to create a neat finish.
8. Finishing Touches: After the new mortar has been applied, the final step is to smooth and shape the joints to achieve a uniform appearance. This can be done using a tuckpointing trowel or a pointing tool.
In conclusion, proper preparations are essential for a successful tuckpointing project. As a civil engineer, it is your responsibility to evaluate the structure, ensure safety, gather the necessary materials and tools, remove damaged mortar, clean the joints, mix and apply the mortar, and finish the joints to achieve a strong and aesthetically pleasing result. With proper preparations, tuckpointing can effectively restore the strength and integrity of a brick or stone structure for years to come.
Mortar Mix for Tuckpointing
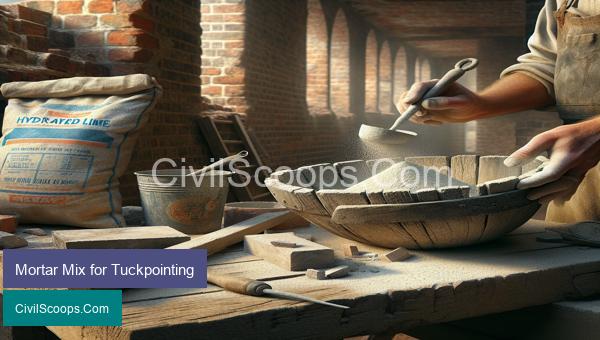
Mortar is an important construction material used in many types of building projects. When it comes to tuckpointing, a technique used to repair and maintain old masonry structures, the type of mortar mix used is crucial in achieving the desired results.
Tuckpointing is the process of filling in the gaps or joints between bricks or other masonry units with a special type of mortar. This technique is commonly used in historic buildings or structures to restore their original appearance and maintain their structural integrity.
Mortar mix for tuckpointing is different from regular mortar used in new construction. It requires a specific ratio of ingredients and characteristics to achieve the desired results. Here are some important aspects to consider when selecting a mortar mix for tuckpointing:
1. Type of Mortar
There are several types of mortar used in construction, such as Type N, Type S, and Type M. For tuckpointing, the most commonly used mortar is Type O. This type of mortar has a lower compressive strength, making it easier to remove and replace when necessary.
2. Ratio of Ingredients
The ratio of ingredients in the mortar mix is important for achieving the desired strength and workability. For tuckpointing, a mix of 1 part cement, 2-3 parts lime, and 9-10 parts sand is commonly used. The higher lime content helps in achieving better workability and adhesion.
3. Consistency
The consistency of the mortar mix is crucial in tuckpointing. It should be neither too wet nor too dry, as it affects the ease of application and final appearance. The ideal consistency is often described as “butter-like” or “peanut butter-like”.
4. Color
The color of the mortar should match the existing mortar on the structure to achieve a seamless look. Color pigments can be added to the mortar mix to achieve the desired shade. It is important to use pigments specifically designed for use in mortar, as regular paint pigments can affect the strength and durability of the mix.
5. Bonding Agent
In some cases, a bonding agent may be added to the mortar mix to improve adhesion and strength. This is especially important when tuckpointing old and weathered masonry structures.
6. Curing Time
Proper curing is essential to achieve the desired strength and durability of the mortar joints. The curing time can vary depending on factors such as temperature and humidity. It is important to follow the manufacturer’s instructions and ensure the joints are kept moist during the curing period.
In conclusion, selecting the right mortar mix is crucial for tuckpointing to achieve a long-lasting and aesthetically pleasing result. It is important to understand the specific requirements of the project and use a mortar mix that is suitable for the structure and conditions. Proper application and curing techniques are also crucial in ensuring the success of the tuckpointing project.
Applying Mortar for Tuckpointing
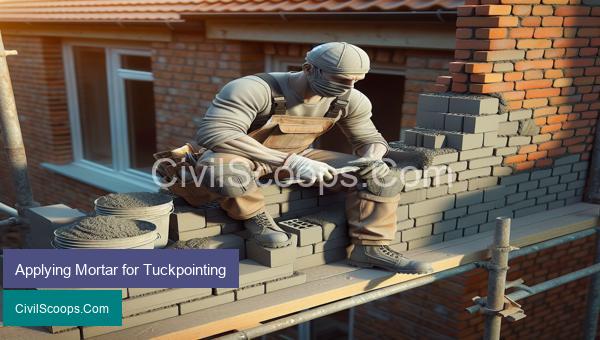
Tuckpointing is a technique used to repair and enhance the appearance of brick or stone masonry. It involves replacing deteriorated mortar joints with fresh mortar, creating a neat and uniform appearance. Applying mortar for tuckpointing is a crucial step in the process and requires skill and precision to achieve a satisfactory result.
Here are the steps to follow when applying mortar for tuckpointing:
1. Prepare the Mortar Mix
The first step in tuckpointing is to prepare the mortar mix. The type of mortar used depends on the type of masonry being repaired. For example, a lime-based mortar is suitable for historic buildings, while a cement-based mortar is better suited for modern constructions. The mortar mix should have a smooth and workable consistency.
2. Clean the Joints
Before applying new mortar, it is essential to clean the joints thoroughly. Use a wire brush or a joint raker to remove any loose debris, old mortar, and dirt from the joints. This step ensures that the new mortar bonds properly with the masonry.
3. Wet the Joints
Wetting the joints with water before applying new mortar helps the new mortar to bond better with the old masonry. It also slows down the drying process, allowing enough time for proper jointing.
4. Load the Mortar Jointing Tool
There are various types of jointing tools used for tuckpointing, such as a trowel, brick jointer, or finger jointer. Load the tool with a small amount of mortar, enough to fill the joint completely.
5. Apply the Mortar
Use the jointing tool to push the mortar into the joints, filling them evenly and compactly. Ensure that the new mortar is flush with the surface of the masonry and does not excess. Continue filling the joints until they are all filled with new mortar.
6. Smooth and Compact the Mortar
After filling the joints, use the jointing tool to smooth and compact the mortar. This step helps to remove any air bubbles and ensures a secure bond between the new mortar and the masonry.
7. Clean off Excess Mortar
With a pointing trowel, gently scrape off any excess mortar that has spread onto the face of the masonry. This step is crucial in achieving a neat and uniform appearance.
8. Brush the Joints
After the mortar has partially dried, use a stiff-bristled brush to remove any residual mortar from the joints and the masonry’s surface. Brushing also helps to compact the new mortar and gives it a neat, finished look.
9. Allow Proper Drying Time
The mortar needs sufficient time to dry and cure before it is ready for use. The drying time depends on the type of mortar used and the weather conditions. It is essential to avoid any water or other external factors that may disturb the drying process.
In conclusion, applying mortar for tuckpointing requires attention to detail and careful execution. It is crucial to follow these steps and use the right tools and techniques to achieve a professional and long-lasting result. A well-done tuckpointing job not only enhances the appearance of masonry but also ensures its structural stability.
Conclusion
Tuckpointing may seem like a daunting task, but armed with the knowledge of its purpose, process, and benefits, it can be seen as a necessary and valuable investment for any brick or stone structure. By understanding the differences between repointing and tuckpointing, the tools and materials needed, and the steps involved, one can effectively maintain the structural integrity and aesthetic appeal of their building. It is not only a way to address structural issues, but also a way to enhance the beauty and longevity of a property. So, whether you are a homeowner or a building owner, knowing all about tuckpointing can save you time, energy, and money in the long run, and ensure the longevity of your structure.