All About Wall Putty | What Is Wall Putty | What Is Wall Putty Used For | Disadvantages of Wall Putty | Types of Wall Putty
Table of Contents
What Is Wall Putty?
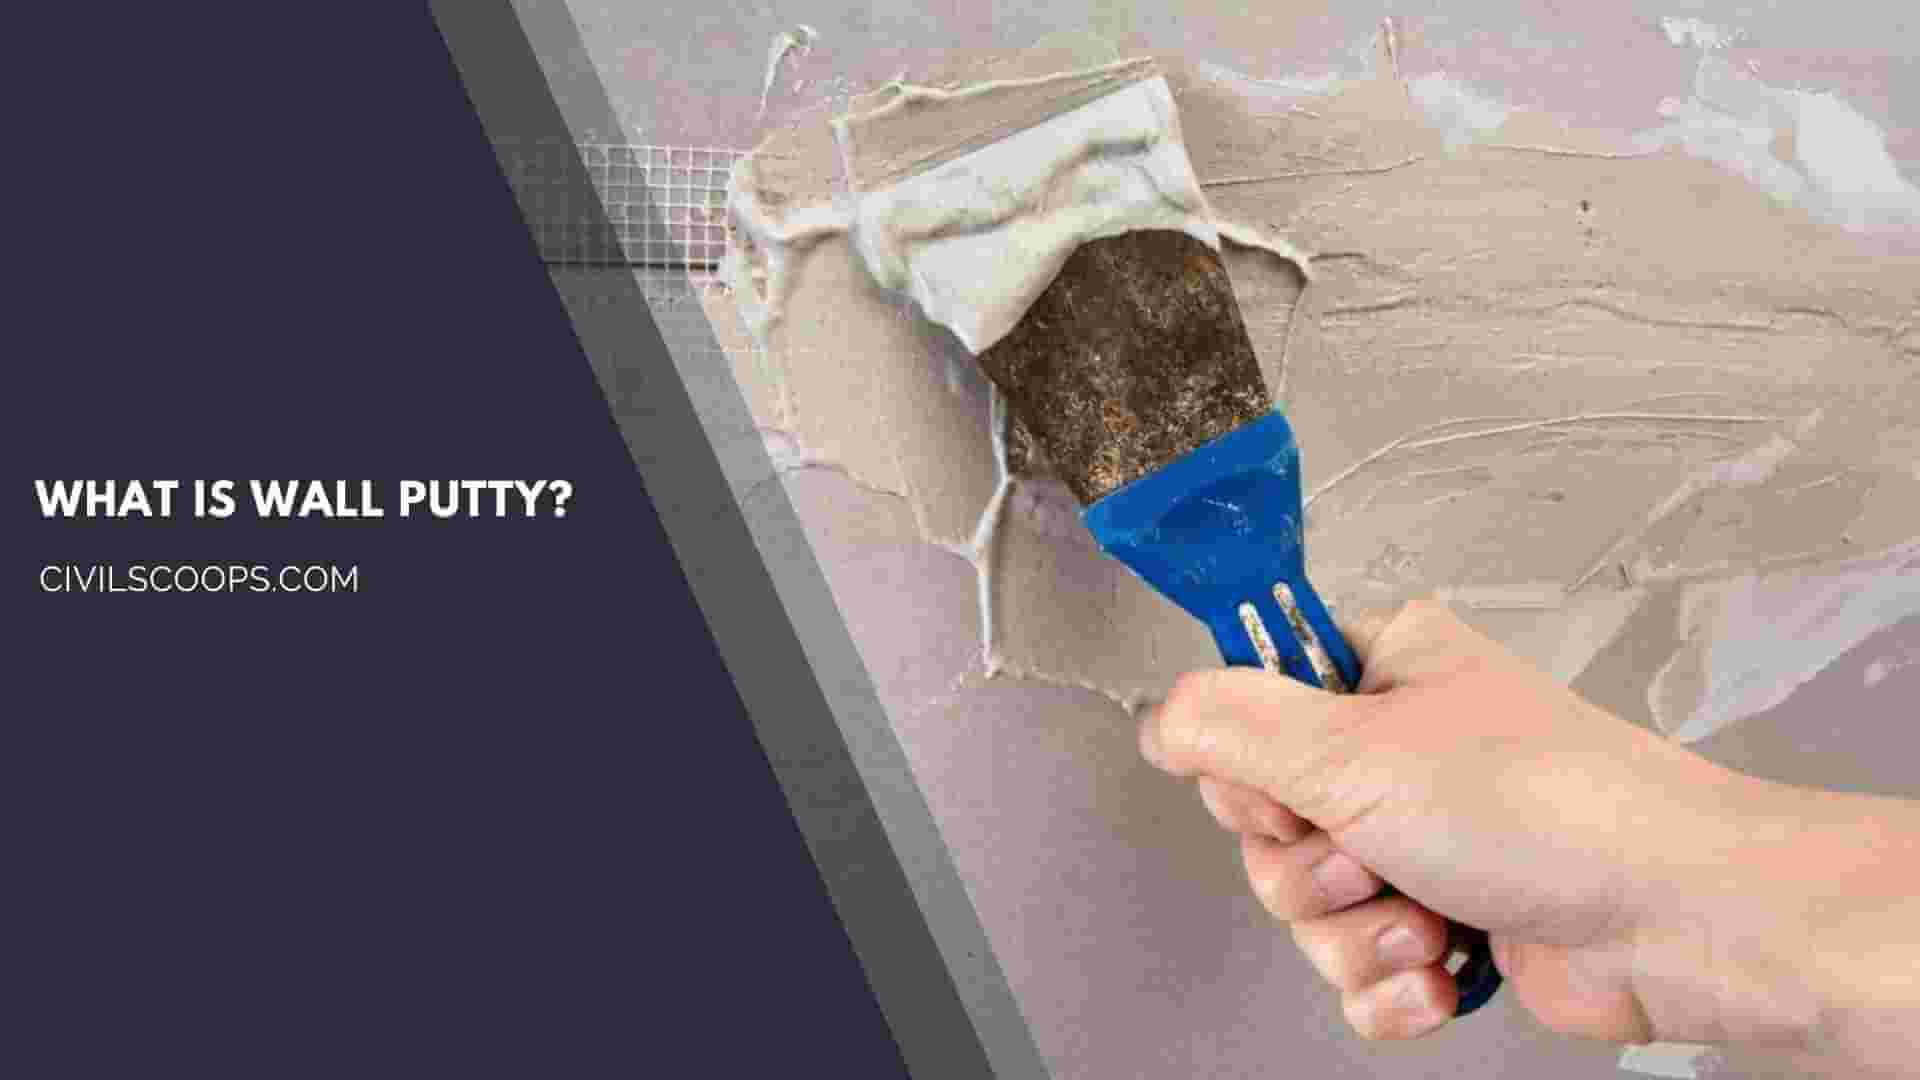
Wall putty is basically a substance that is applied to the internal wall of any house to increase the beauty and longevity of the house. Wall putty makes a strong base for painting and it also highlights the colour. It provides sharp and beautiful edges for our house.
Wall putty is basically a cement-type substance that is applied to create an even surface of the wall. It also uses a filler material which is used to fill pores, cracks, undulation in walls, etc.
If you increase the lifespan of paint, then you must apply 1 or 2 coats of wall putty. If there are no major wall cracks, then putty will be provided through the whole wall surface but final touches do not require at this step.
Generally, wall putty has a high plasticity property and the texture of wall putty is near about similar to the clay. Wall putty naturally provides a protective layer for the painting. Wall putty is available in the market in different colors and it can be applied on the new wall as well as the old wall.
What Is Wall Putty Used For?
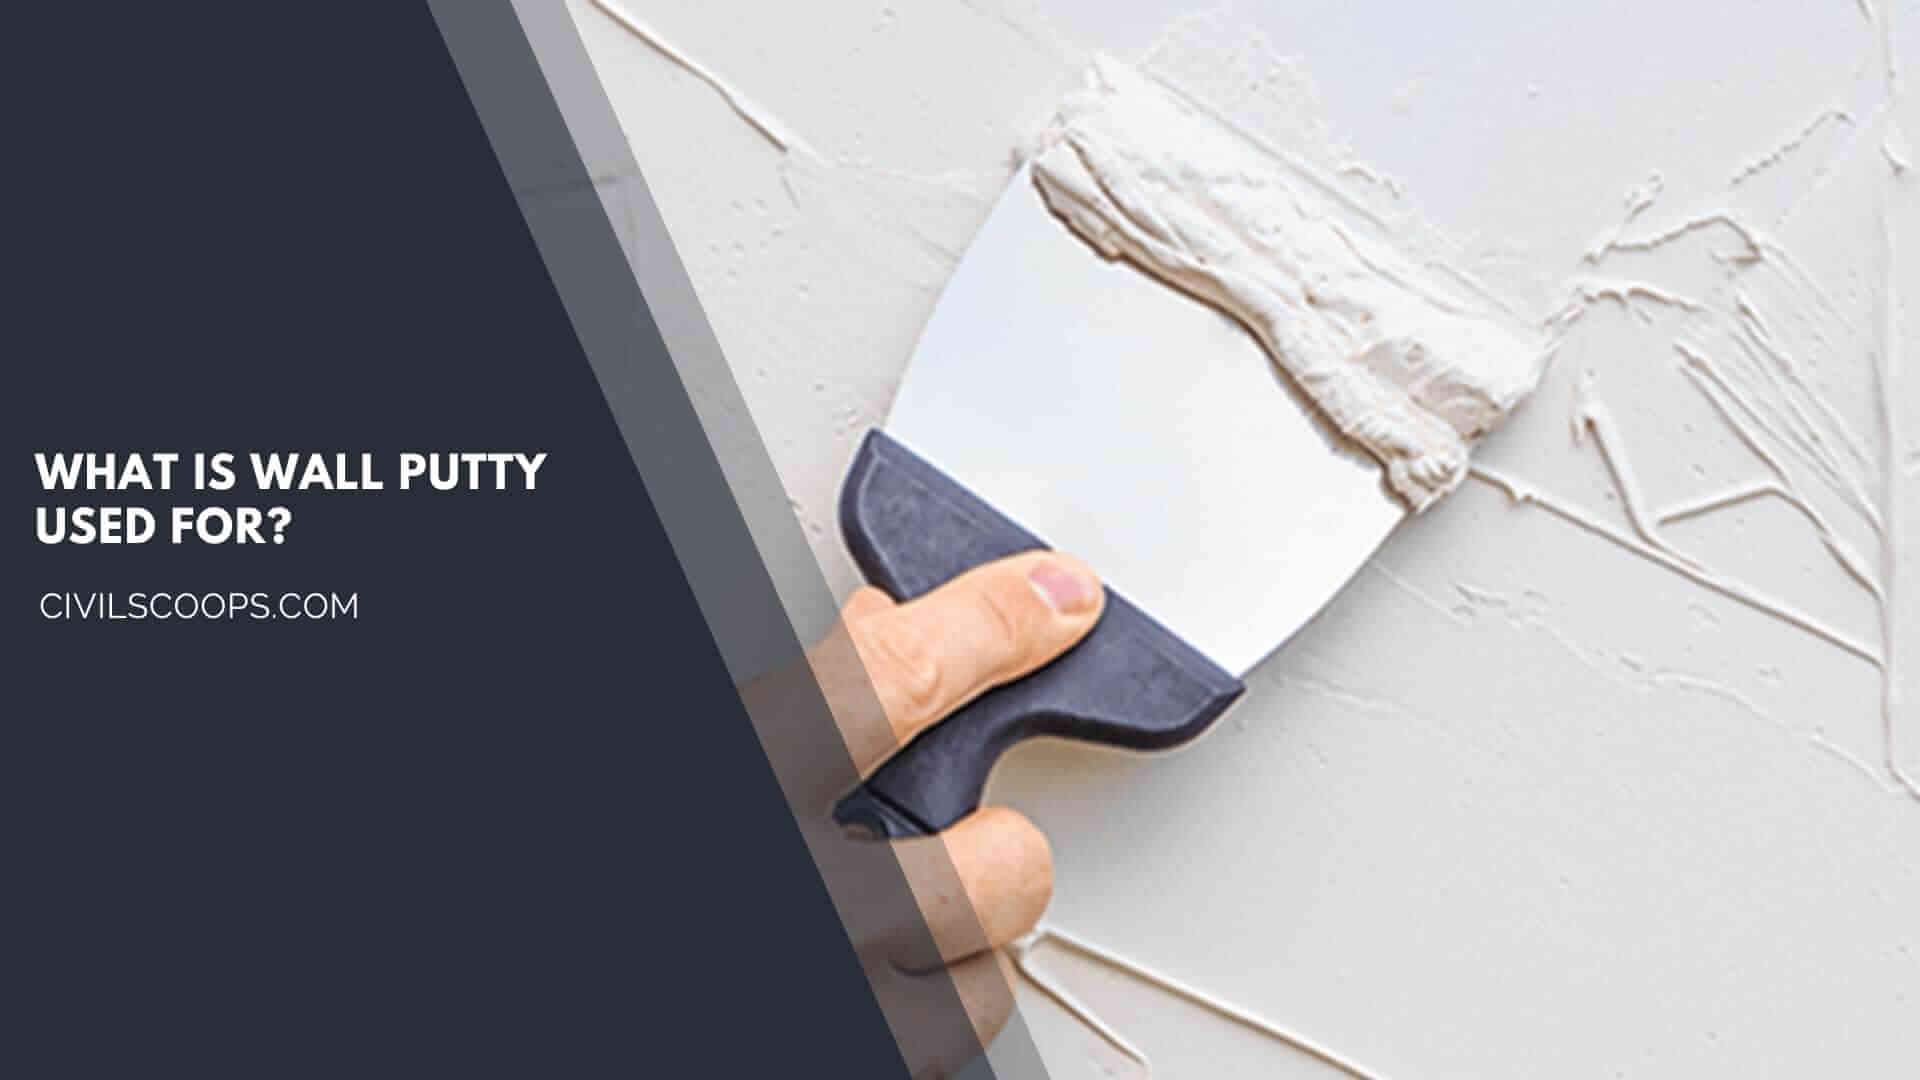
Wall putty is generally used to create a smooth surface of the wall. It also creates a protective layer. The tensile strength and adhesion power are wall putty are adorable.
Sometimes, cracks are formed on the wall, then wall putty is used to fill those cracks easily. Here, it acts as a filler material.
Wall putty creates an excellent bonding with the plastered wall surface and the wall paint also gets a very good surface. Wall putty is also used to resist the decaying of walls because it becomes water-resistant, abrasion resistant and flake resistant.
Also Read: Load-Bearing Vs Partition Walls | What Are Walls | Classified of Walls
Types of Wall Putty
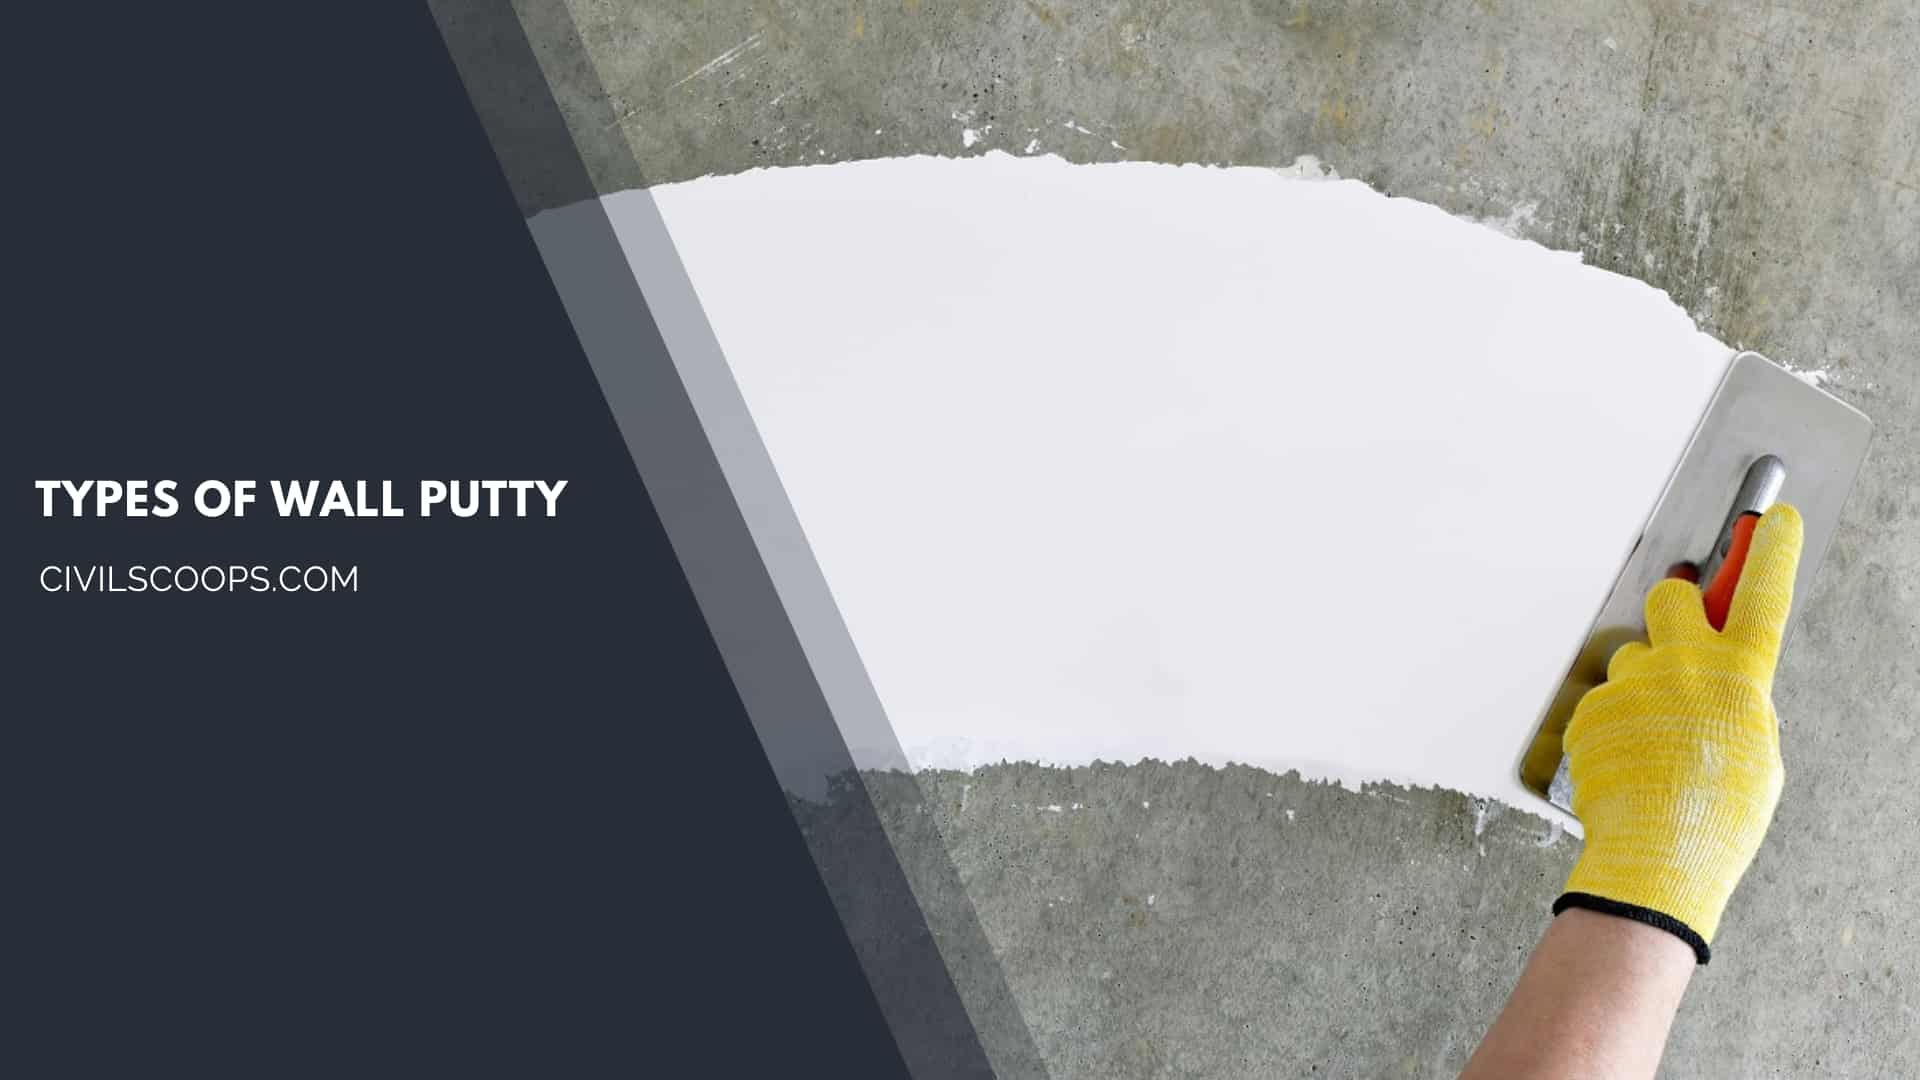
There are various types of wall putty are available in the market according to the purposes, those are in the following below-
Useful Article for You
- What Is a Highway Flyover
- What Is Grouting
- What Is a Pile Cap
- What Is a Bond Beam in Masonry
- What Is Sapwood
- What Is Crane
- What Is a Gable
- What Is Superelevation
- What Is Kerb
- What Is the Purpose of Washers
- What Is the Size of a Brick in Inches
- What Is Reinforced Masonry
- What Is Workability
- What Is Bond Breaker
- What Is Plasticizer in Concrete
- What Is Luminous Flux Vs Lumens
- What Is Caisson
- What Is an Undercoat
- What Is a Benchmark Surveying
- What Is Bracing in Construction
- What Is a Beam in Construction
- What Is the Standard Door Frame Size
- What Is a Spandrel Beam
- What Is a Fire Escape
- What Is a Weep Hole
- What Is Tie Beam
- What Is Fine Aggregate
- What Is Pony Wall
- What Is Flag Stone
- What Is Development Length
- What Is Cement Plaster
- What Is a Pitched Roof
- What Is Rafters
- What Is a Slab in Construction
- What Is a Monolithic Slab
- What Is Linear Distance
- What Is Shovel
- What Is Lintel in Construction
- What Is a Concept Sketch
- What Is Mezzanine Floor
- What Is Man Sand
- What Is Plaster Made Out of
1. White Cement Based Putty
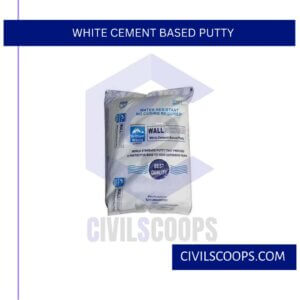
White cement-based putty is a very popular type of putty which are used in modern days. White cement based is basically a mixture of white cement, polymers, and minerals. This type of putty is used for both interior wall and exterior wall purposes but this is good for internal purposes usage.
White cement-based putty provides a smooth and glossy finish to the wall surface. White cement-based putty cost is reasonable and most of the people can afford it.
White cement-based putty does not require any kind of skilled labor, so the labour charge is also not very high. Properties of white cement-based wall putty- This type of putty is good to use on exterior surfaces or interior surfaces or exposed surfaces. White cement-based putty is a cement-based putty which gives a strong binding property.
It has an excellent water-resistant property, which also resists dampness. The tensile is also good because of the adhesion property of cement and undoubtedly compressive strength.
2. Acrylic Putty
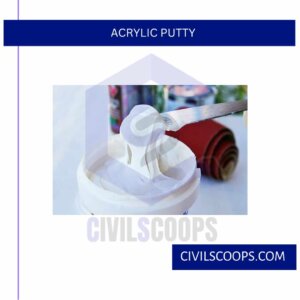
Acrylic putty is another type of wall putty which is water-based wall putty. Acrylic wall putty is a mixture of acrylic emulsion medium, pigments, and other additives.
Acrylic putty is only used for interior wall purposes and it is not used for exterior wall purposes. Acrylic putty provides you with a smooth surface finish which comes matte in nature.
Some special features of acrylic putty are following below- It is only used in an internal portion of the house because if use acrylic putty is in the exterior portion then extra heat will create some problems with the acrylic putty.
The binding property of acrylic putty is less than white cement-based putty. Acrylic putty is not good enough to resist the water totally and due to this water, wears inn the putty arrives, then we need a quick repair in every year.
The strength of acrylic putty is not so much effective and it is good to resist alkali problems. Acrylic putty is suitable for all kinds of paints, which provides a better choice for buyers. The installation charges are also reasonable, that’s why everyone can afford this type of putty.
Also Read: 15 Different Types of Cement and Their Uses
What Is Wall Putty Made Of?
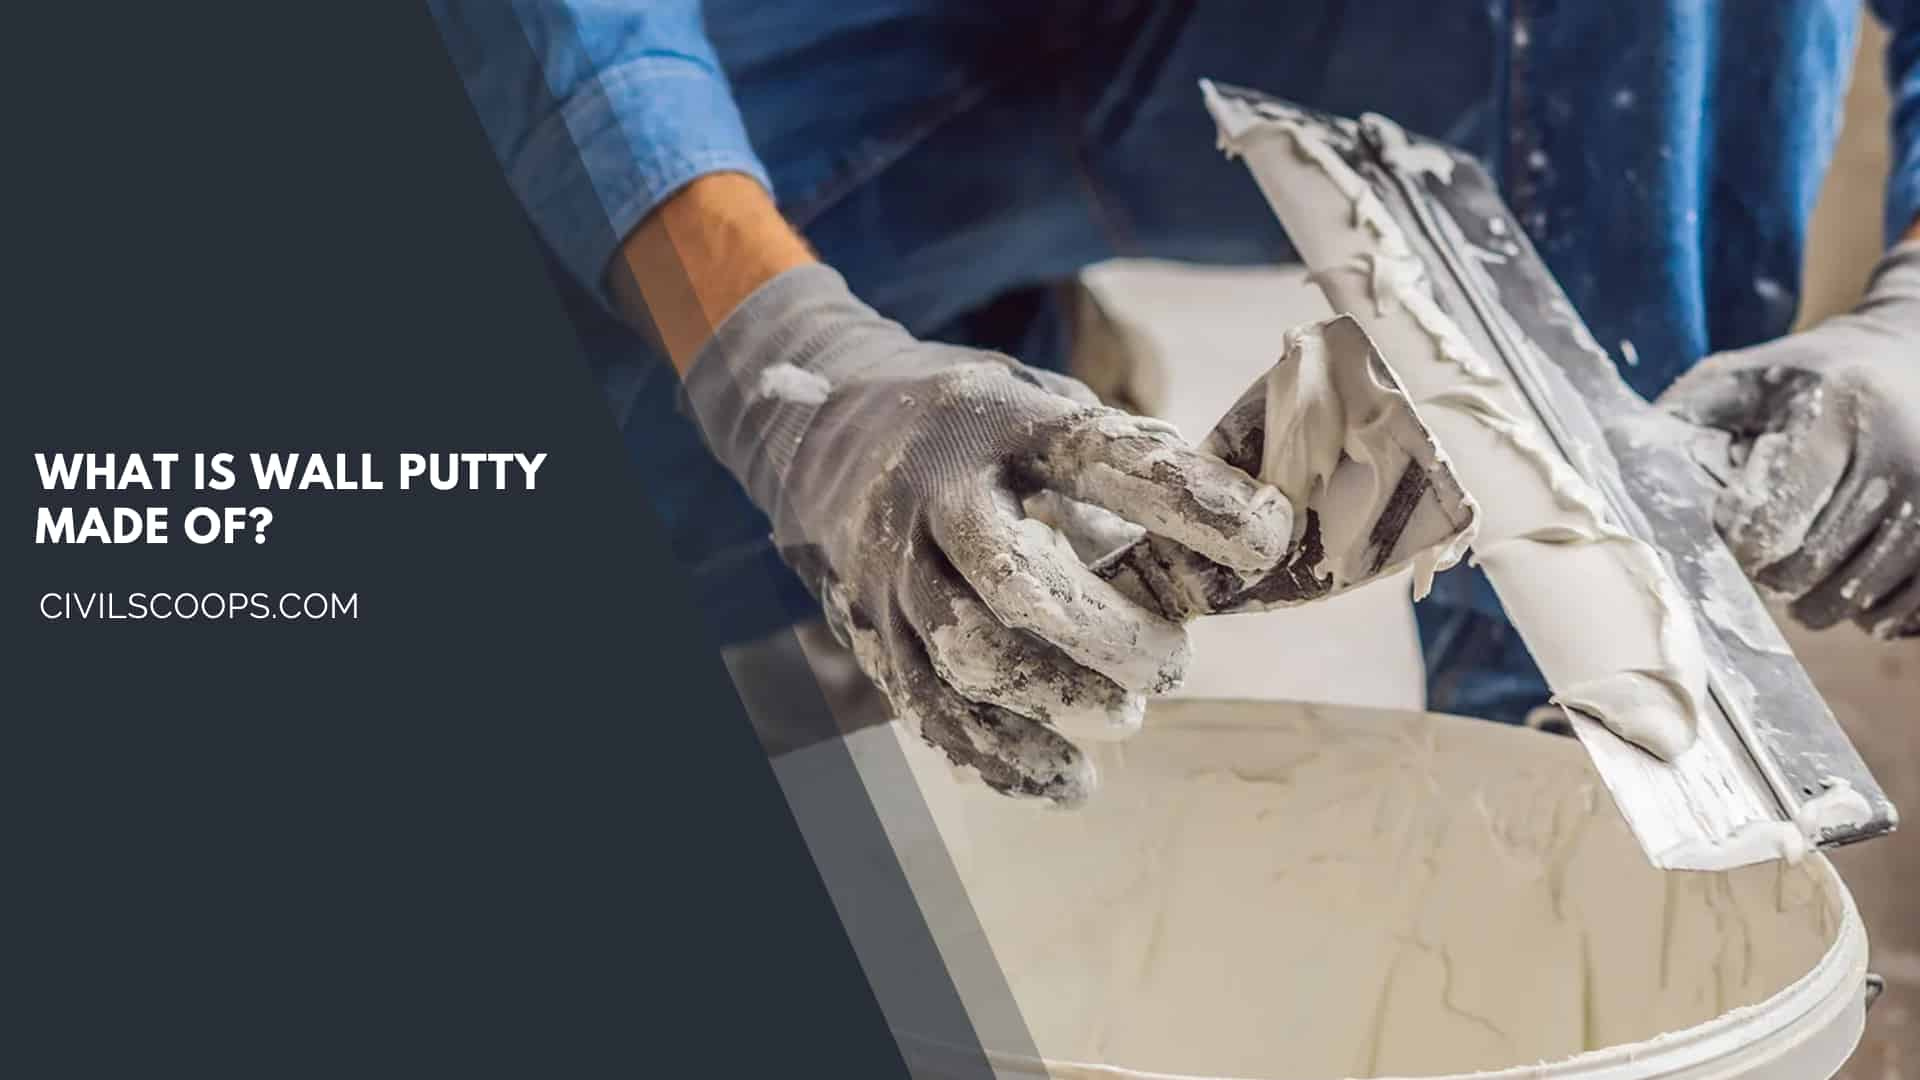
Wall putty is a mixture of material which is made of different ingredients like calcium carbonate power, which presents in maximum quantity; after that, some amount of sierozem powder is there.
Besides those materials, white cement is also there and a negligible amount of HPMC and ultramarine are also present. Wall can be used for both interior and exterior walls, where wall putty is used as a protective layer.
Application of Wall Putty
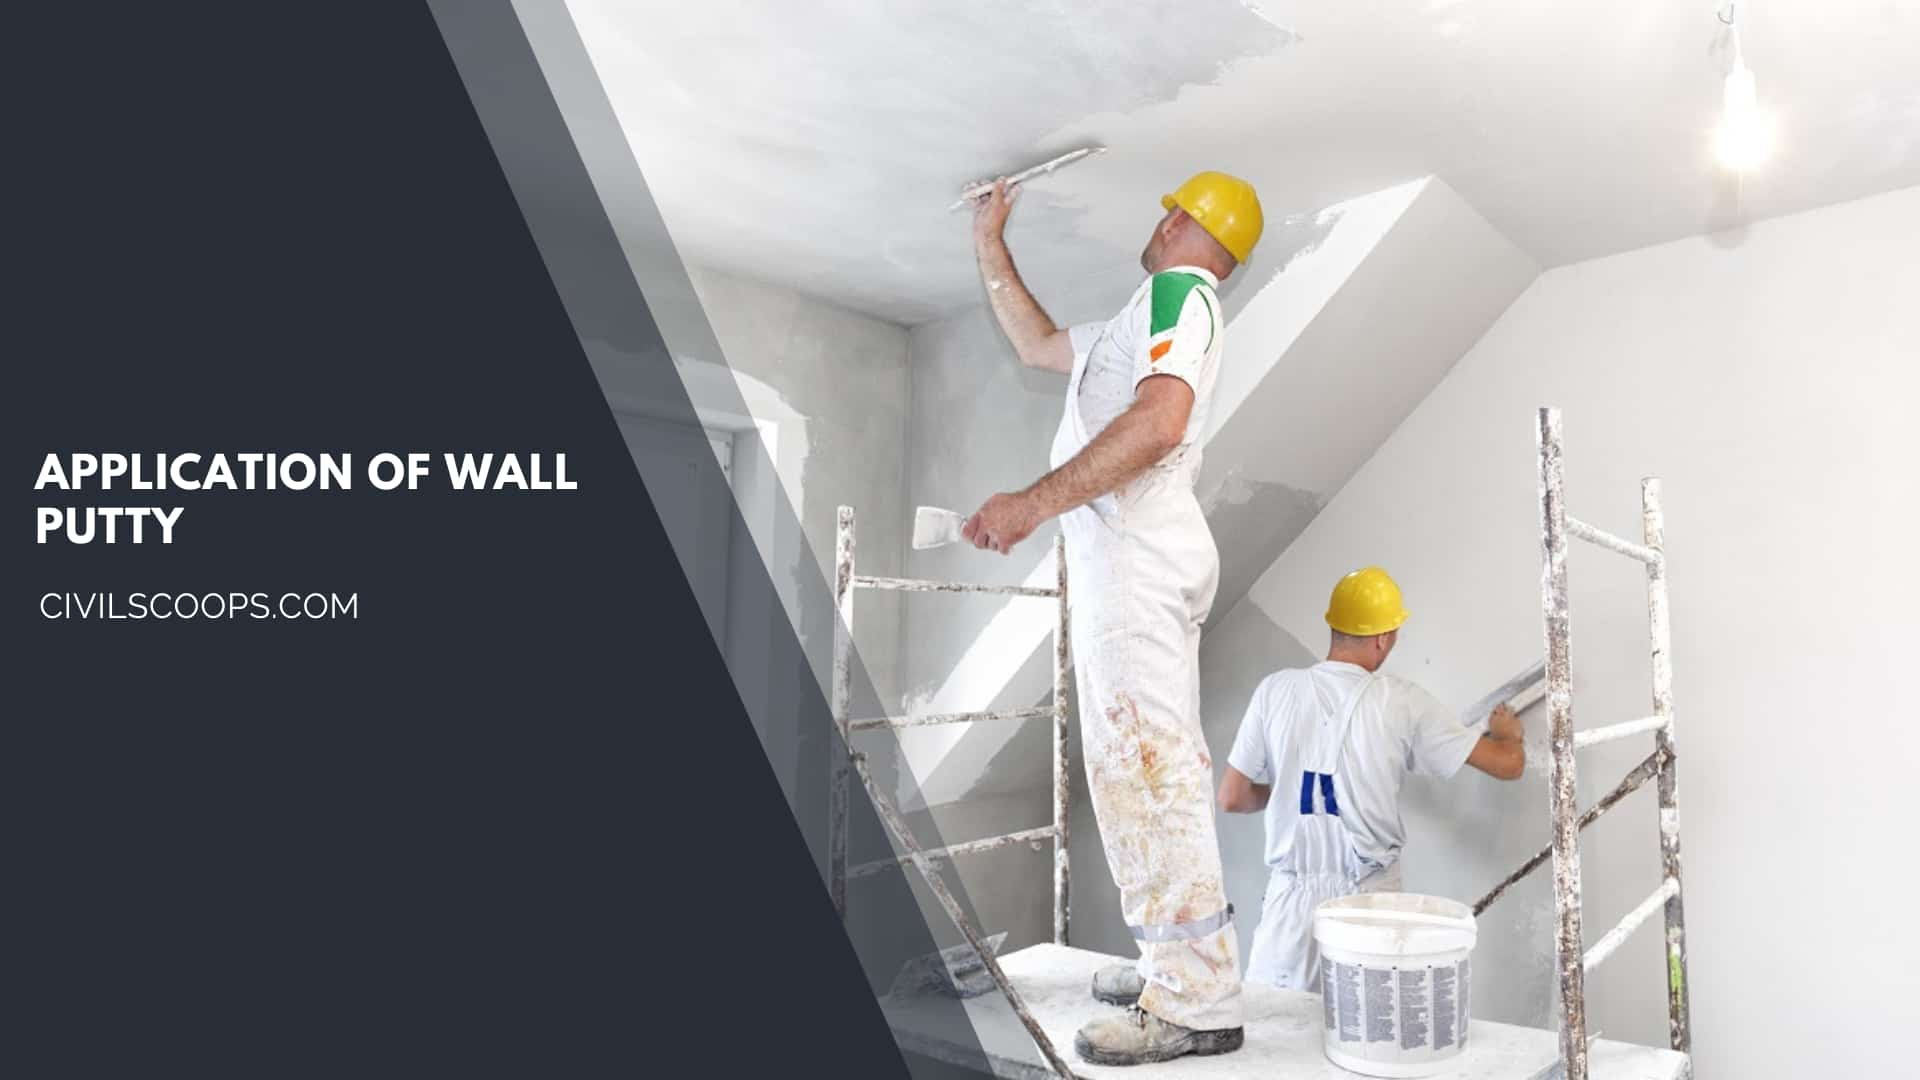
Wall putty can be applied for both interior and exterior purposes. The application process of wall putty is different for different wall surfaces, that are-
Step 1: Apply After Primer

When you are going to apply putty on the wall then you need to be sure that the wall must be free from any type of dust, grease, wallpaper, stains, oil paints, etc. If cracks are observed on the wall surface then those must be filled with putty then the next process will start.
Putty must be applied after drying the primer coat. It creates a defensive layer to the putty. One or two coats of putty can be applied but make sure that you can apply a second coat only after drying the first coat.
Step 2: Check The Surface Before You Apply

A surface groundwork checking is necessary before applying a coat of putty. Workers must wear safety because of avoiding dust and dirt. The required tools for putty works are a knife, sandpaper, paint scraper, sanding block, cloth, brush, and water. Those are the major ingredients but some other minor tools are also required besides this.
Step 3: Remove The Loose Materials From Walls
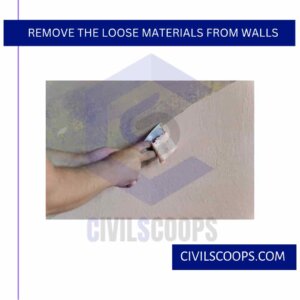
If cracks are found on the wall then it is very important to check this, dig out, and remove the loose materials from that portion. You can use a screwdriver for this action.
Use sandpaper to remove all flakes and dust particles. Make sure that the surface must be freed from dirt, dust, grease, etc. For a lime coating wall, use a sandpaper or paint scraper and for an oil paint wall, use sanding.
Step 4: Final Application

According to the place or purpose, the wall putty is chosen. To make a thick paste, you need to add adequate water to the mixture and use a mechanical stirrer.
The paste is very prone to dry, so you need to be quick enough (use within 2 to 3 hours). We are using a wet or moist cloth to cover the putty paste to resist drying. Use a flat finish tool for applying the putty and the wall must be cleaned.
Also Read: Grey Water vs Black Water | What Is Grey Water | What Is Black Water
Useful Article for You
- How Wide Is a Cinder Block
- How Much Is a Coffered Ceiling
- How to Make Mortar
- How Long Does Hempcrete Last
- How to Use a Hand Sight Level
- How to Construction
- How to Build a Lean to Roof
- How Are Tunnels Built
- How to Layout a Building
- How Wide Is a Car Parking Space
- How Do Shear Walls Work
- How to Measure Concrete Slump
- How Are Bridge Foundations Built
- How to Use Washers with Screws
- How Dense Is Sand
- How High Is a Window from the Floor
- How to Fix Spalling Concrete Foundation
- How Does a Beam Bridge Work
- How Do They Pour Concrete Under Water
- How Does a Sewer System Work
- How High Are Countertops
- How to Seal Brick Wall Interior
- How to Resurface Cement
- How to Use Portland Cement
- How Is Plaster Made
- How to Find Fineness Modulus
- How to Get Rid of Spray Paint Smell on Metal
- How Many Types of Slope Are There
- How Big Is a Stair Landing
- How Does Rebar Help Concrete
- How to Identify a Load Bearing Wall
- How to Get Paint Off Concrete Without Chemicals
- How to Fix Water Damaged Drywall
- How Much to Get Septic Pumped
- How to Cut a Nail or Screw
Disadvantages of Wall Putty
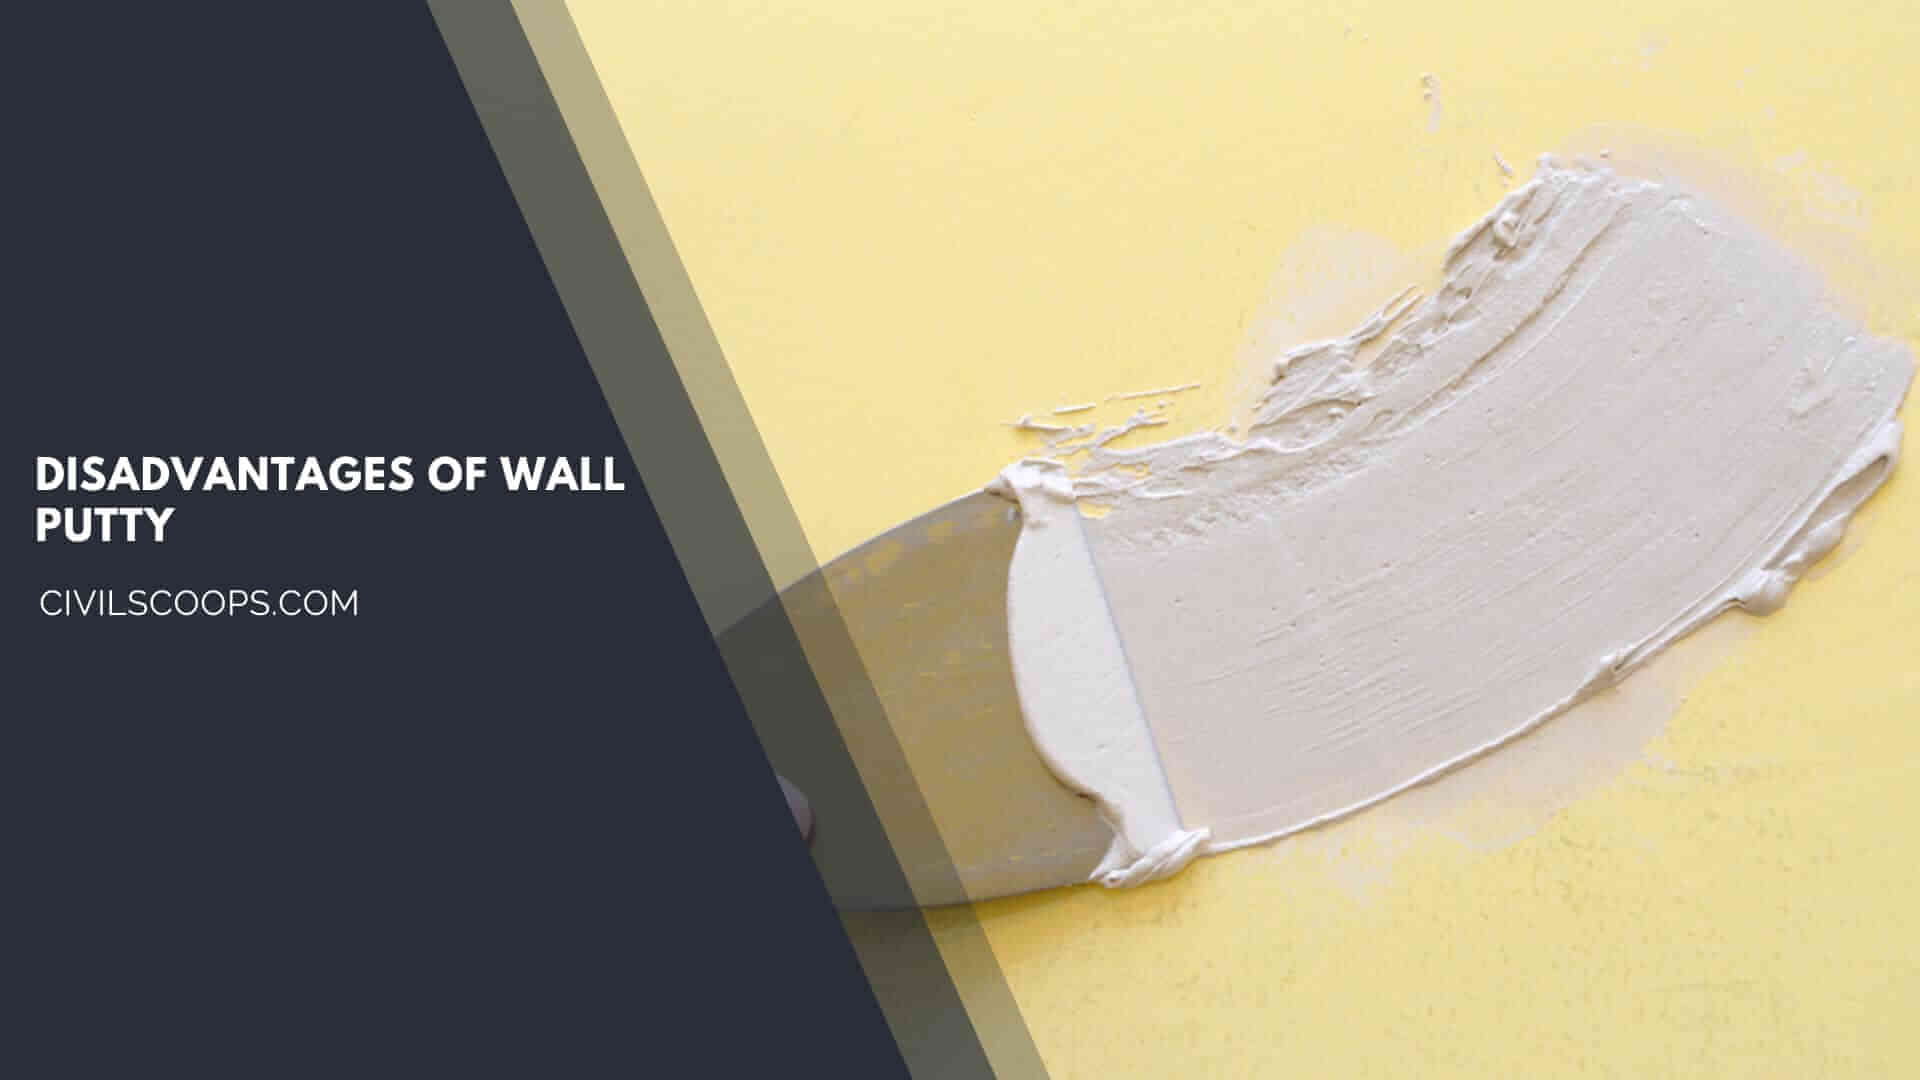
Wall putty is a very modern material which is widely used in recent times because it has some advantages. But it also has some disadvantages also, those are the following-
- Wall cracks are easily visible in wall putty walls because it is a smooth and even wall surfaces, so cracks can easily be detected.
- Wall putty creates a smooth and even surface to the whole wall but it is so much difficult to maintain the whole wall as smooth and even because it is not a machinery process.
- Wall finishes are different in nature because there are so many types of wall finishes are available in the market. So, it is so much difficult to apply the wall putty over all types of wall finishes.
- Another disadvantage of wall putty is it takes so much effort for cleaning and an unskilled person can not do this because there is a high chance of getting damaged wall putty.
Mixing of Wall Putty
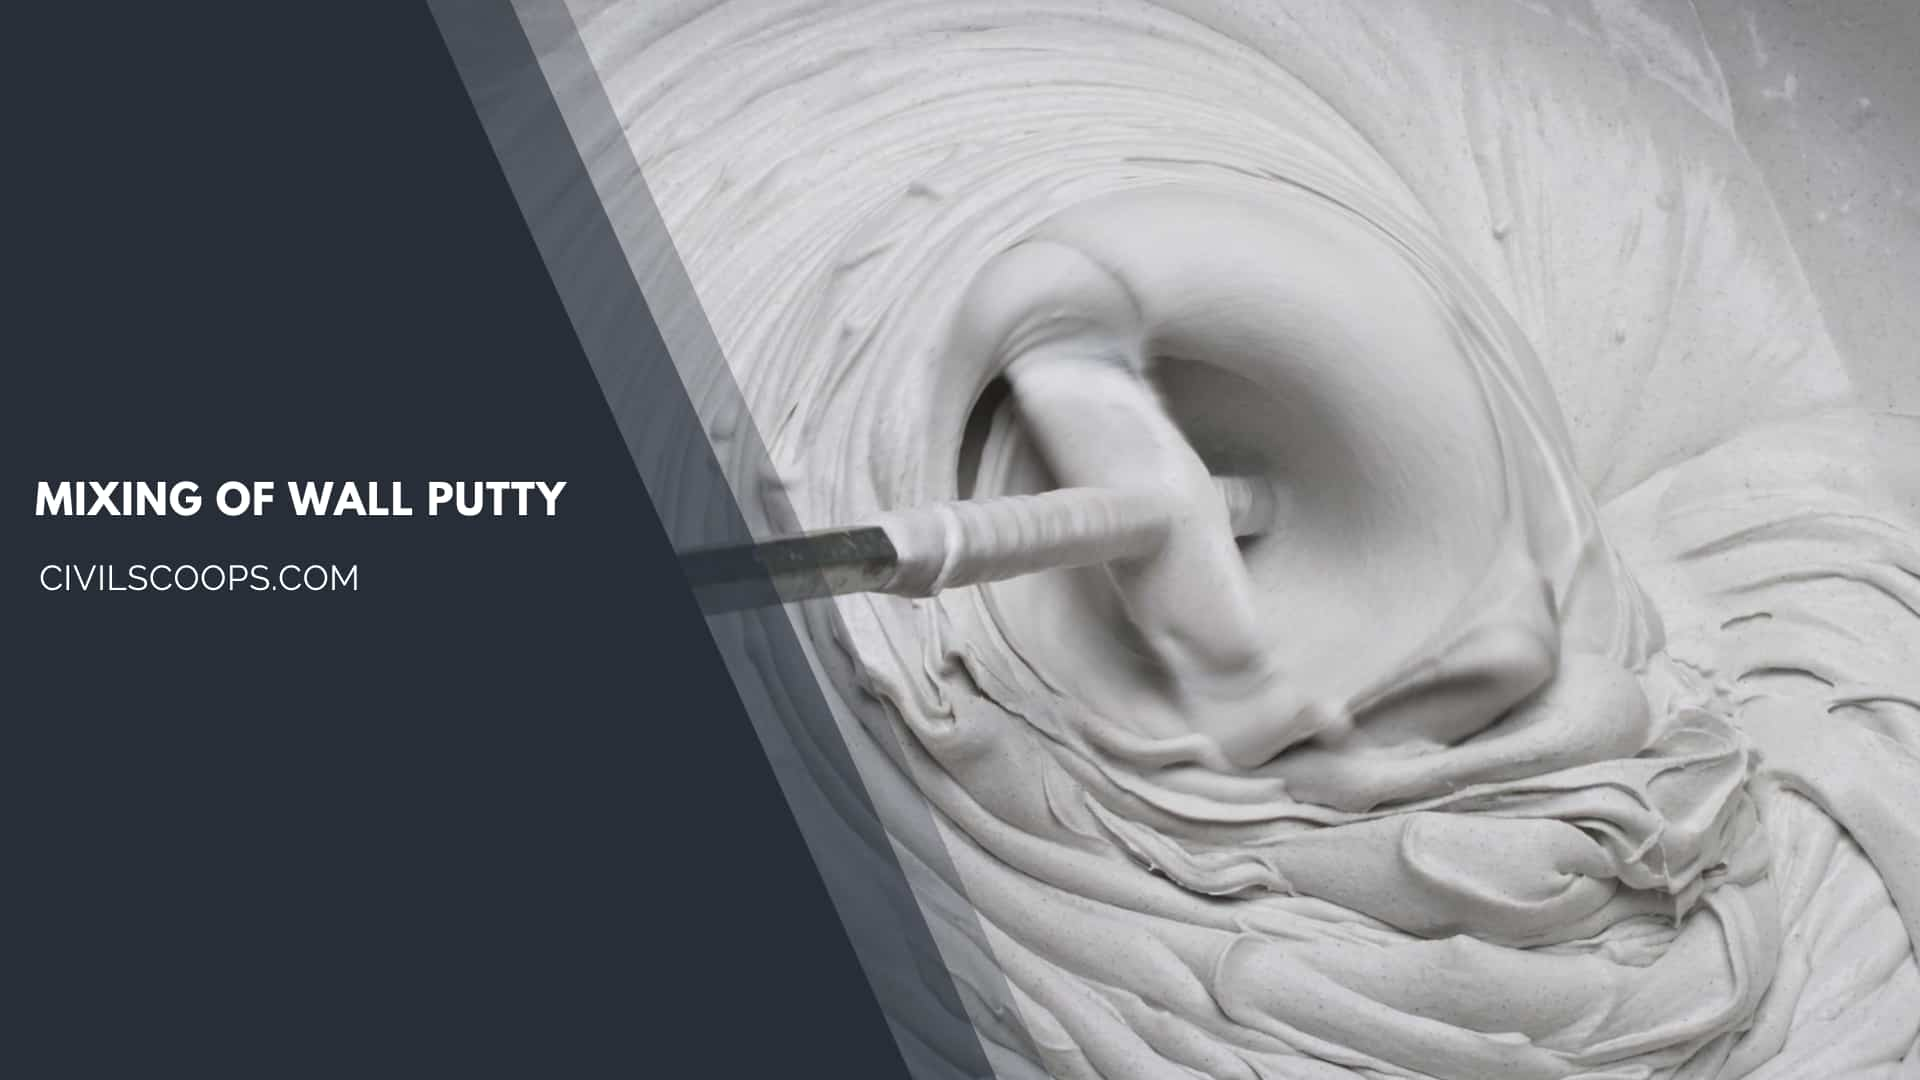
Mixing of wall putty is not a very difficult thing. To prepare wall putty paste you need a bucket and some amount of water. The mixing ratio must be 2:1; so, 2 parts of wall putty and 1 part of the water are needed. After that stir those materials thoroughly. After that apply the putty with a flat tool.
White Cement Based Wall Putty
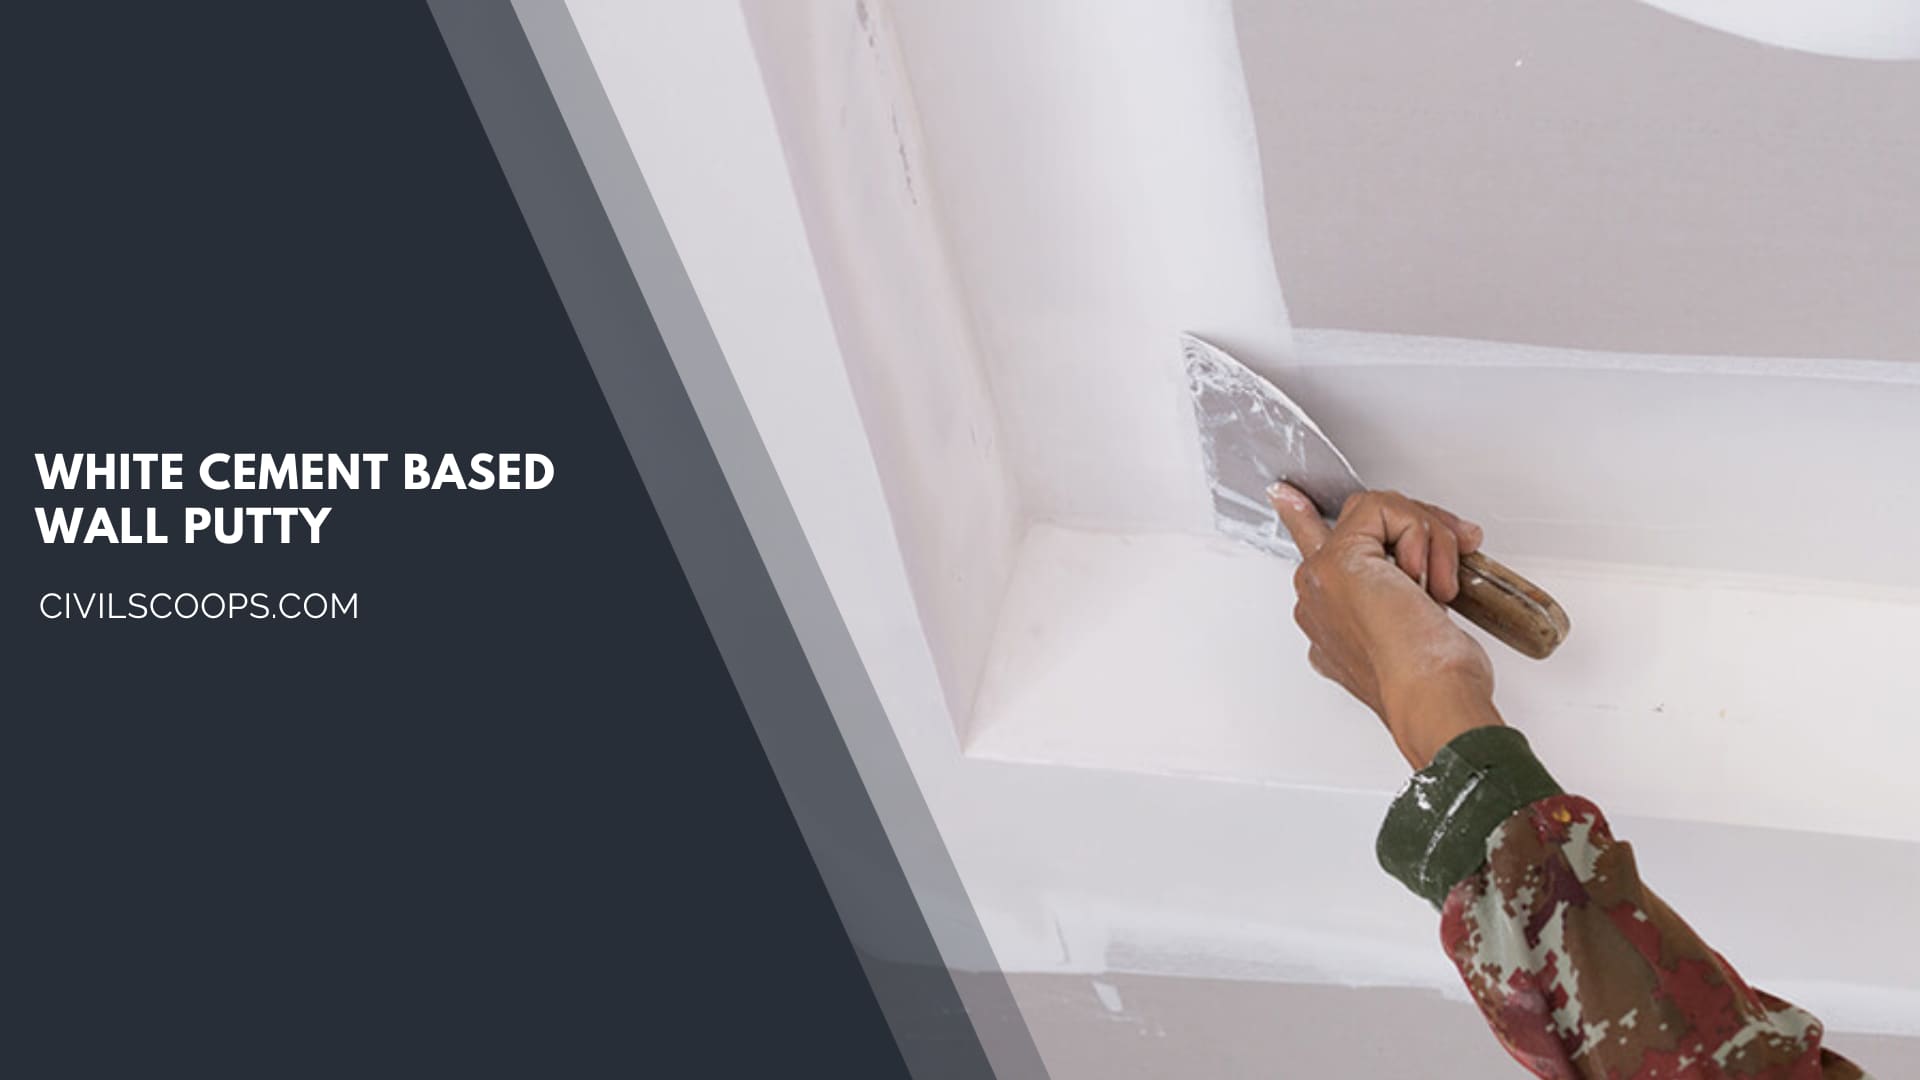
White cement-based wall putty is a special type of wall putty which is widely used on interior walls and exterior walls. White cement-based wall putty is used as putty, sealer material, or filler material because different additives are mixed with it to do such actions.
In white cement-based wall putty, polymers, minerals, and white cement are also mixed. The cost of this type of putty is not so much high, that’s why almost everyone can afford it easily.
White cement-based wall putty does not require any skilled labor; so, the labor cost of this material is also low.
[su_box title=”FAQ” style=”default” box_color=”#333333″ title_color=”#FFFFFF” radius=”3″ class=”” id=””]
What Is Wall Putty?
Wall putty is a white cement-based powder made of polymer and other minerals that make the wall look smoother. It is primarily used to fill in cracks and holes in walls and prepare an even wall surface before applying paint.
What Is Wall Putty Used For?
Wall putty is used to prepare walls for painting or wallpapering by filling imperfections, creating a smooth surface, and enhancing paint adhesion. It also helps prevent moisture seepage and increases durability.
What Is Putty on Wall?
Wall putty paint gives a smoother finish to the wall. It effectively waterproofs the wall and retains moisture. It does not flake easily to damage your wall. You can use wall putty to increase the lifespan of your expensive paint.
What Is Wall Putty Made Of?
Wall putty is typically made with a blend of Portland Cement, Lime, Bentonite, or other additives to create a workable product that can be applied directly over the concrete surface. It provides an inexpensive way for homeowners to patch the whole wall before applying paint.
What Is Acrylic Putty?
Acrylic Putty is an alkali-resistant, water-based undercoat with a butter-like texture. It is made using advanced technology and contains special acrylic binders that fill the dents and holes on surfaces, making them smooth and exceptionally white.
Application of Wall Putty
Usually, it is mixed with water and some other additives to make a solution that you apply to your wall before painting. If applied correctly, it will fill any imperfections, gaps, cracks, and rough surfaces on your wall. Most professional painters tend to apply two coats of putty before starting to paint.
What Is Acrylic Wall Putty?
Acrylic wall putty is a water-based, alkali-resistant undercoat made using special acrylic binders with a peanut-butter-like consistency that is formulated to fill in cracks and repairs holes on walls.
What Is Putty for Walls?
Wall putty is a paste-like substance used to prepare walls for painting or wallpapering by filling imperfections and creating a smooth surface.
What Putty to Use for Drywall?
Spackle
Spackle or drywall putty is typically used to repair minor drywall or plaster damage. Spackle, which is formed of gypsum powder and binders, has a mushy toothpaste-like consistency and is available pre-mixed in smaller tubs. It’s used to fix minor scratches and dents on walls, such as nail holes.
Is Wall Putty Waterproof?
I found that not all putty is waterproof by nature. Standard putty does not have water-repellent qualities and is used to prepare walls before painting. Additional steps, including using waterproofing paints or sealants, are needed to make surfaces waterproof.
Which Putty Is Best for Interior Walls?
acrylic putty
Acrylic and water-based, acrylic putty is perfect for applying on interior walls. It has long-lasting properties and a smooth texture that make it a preferable option when compared to POP. The walls are given a polished and impressive finish if you use good quality putty.
Which Putty Is Best for Exterior Walls?
Acrylic types of wall putty are more expensive than cement types but they last longer because the acrylic allows it to resist water damage better. Acrylic types can be used on both plaster and masonry surfaces, and this type will provide a smooth finish that is paintable,including exteriors and interiors of a building.
Which Type of Wall Putty Is Best?
White Cement-based Wall Putty: It is one of the most commonly used and popular variants of wall putty across residential and commercial buildings. It features a mixture of cement, minerals, and polymers. White cement-based putty is regarded as the ideal solution to be used both indoors and outdoors.
Types of Wall Putty
Both cement and acrylic wall putty types are available, with cement types being more commonly used on masonry surfaces and acrylic types being more popular for interior walls.
How to Putty Drywall?
- Clean the surface.
- Apply a thin layer of putty.
- Allow to dry.
- Sand smooth.
- Apply additional coats if needed.
How to Use Putty on Wall?
- Remove any loose drywall.
- Smooth on the spackle with a putty knife, angling it about 45 degrees and swiping downward until the hole is filled.
- Scrape off the extra spackle.
- Let dry.
- Apply another coat if needed.
- Sand gently and wipe away dust.
How to Putty Walls Before Painting?
Steps to Follow when Applying Putty for Wall
- Sand the surface before you start.
- If there are any holes or cracks, use a screwdriver or a thin wire to remove any dirt or debris before filling them with putty.
- Start in one corner and work your way out.
- Make sure that the putty is applied evenly.
How to Use Acrylic Putty?
It’s easy to use – just roll it out across your surface and smooth with your hands or a roller! Acrylic wall putty is a water-based, alkali-resistant undercoat made using special acrylic binders with a peanut-butter-like consistency that is formulated to fill in cracks and repairs holes on walls.
How to Putty a Hole in Drywall?
Fill dents and tiny holes with lightweight spackle using your finger or a putty knife. Make sure the spackle completely fills the dent or hole and is level with the rest of the undamaged wall. Allow the spackle to dry for 15 to 30 minutes or the time recommended by the manufacturer.
[/su_box]
[su_note note_color=”#F2F2F2 ” text_color=”#333333″ radius=”3″ class=”” id=””]
Like this post? Share it with your friends!
Suggested Read –
- Definition Efflorescence
- What Is Micro Concrete
- Live Load Vs Dead Load
- Different Types of Couches for Home
- Concrete Material Calculation / Concrete Quantity
[/su_note]
Originally posted 2023-10-09 12:44:45.
