16 Definition Related for Plastering Work | Tools For Plastering | Preparation of Background for Plastering
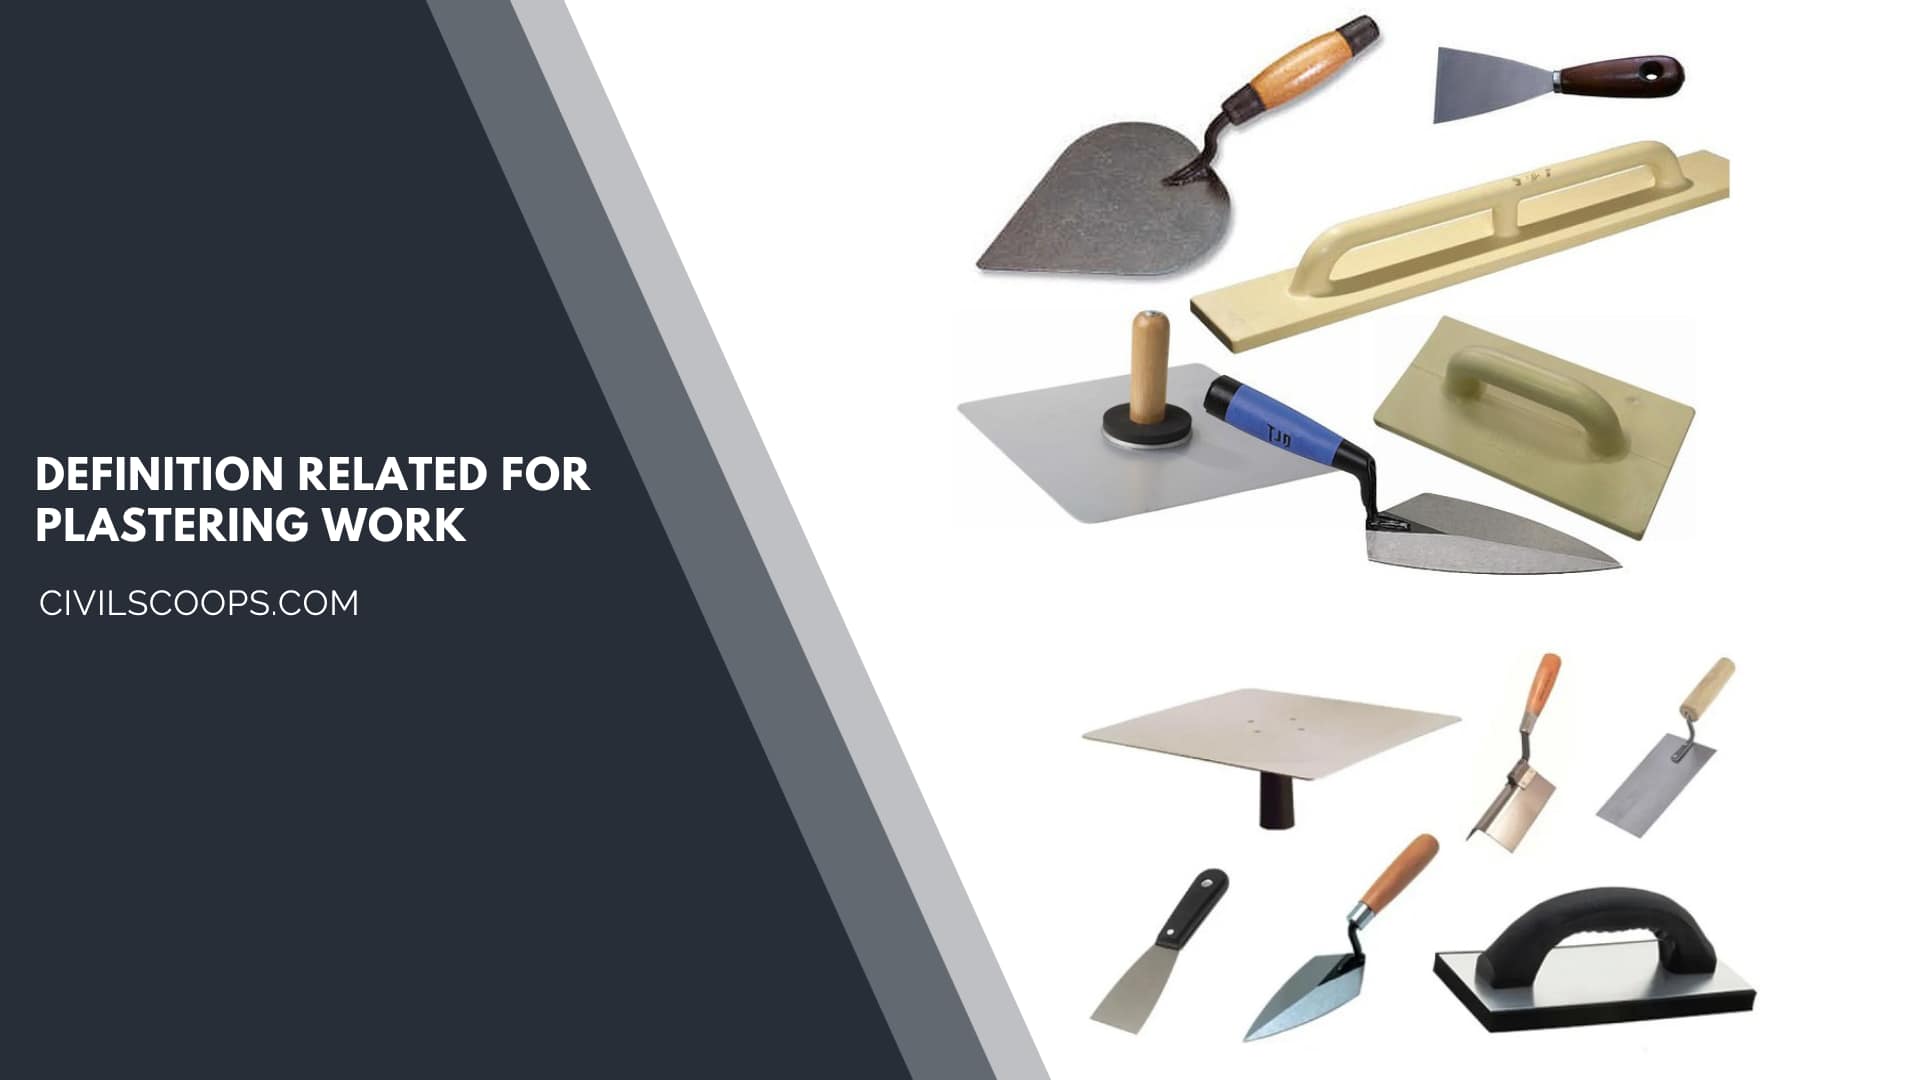
Table of Contents
Definition Related for Plastering Work
Plasterwork is construction or ornamentation done with plaster, such as a layer of plaster on an interior or exterior wall structure, or plaster decorative mouldings on ceilings or walls.
The process of creating plasterwork, called plastering or rendering, has been used in building construction for centuries.
Plaster work-related definition as below
- Plaster Background.
- Plaster Blistering.
- Cracking in Plaster.
- Crazing in Plaster.
- Dado in Plaster.
- Dubbing coat in Plaster.
- Dost in Plaster.
- Finishing Coat Plaster.
- Flaking Plaster.
- Gauging in Plaster.
- Grinning in Plaster.
- Grounds in Plaster.
- Hacking for Plaster.
- Keys in Plaster.
- Laitance Plaster.
- Peeling in Plater.
- Undercoat Plaster.
1. Plaster Background
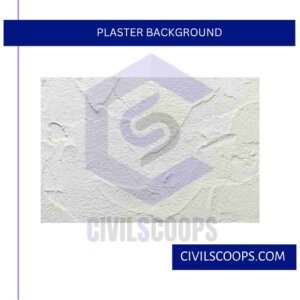
It is the surface of masonry or any other surface to which we apply first coat plaster.
2. Plaster Blistering
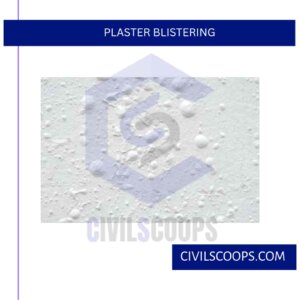
As soon as you can feel a blister developing, apply a plaster. An Elastoplast SOS Blister Plaster is one of the first self-help options.
A plaster will cushion the affected area and protect even an open blister from infection and dirt. It will also help take off the pressure-induced pain and help the healing process.
Also Read: What Is Plaster | Types of Plaster As Per Material | Defects In Plastering
Useful Article for You
- What Is a Highway Flyover
- What Is Grouting
- What Is a Pile Cap
- What Is a Bond Beam in Masonry
- What Is Sapwood
- What Is Crane
- What Is a Gable
- What Is Superelevation
- What Is Kerb
- What Is the Purpose of Washers
- What Is the Size of a Brick in Inches
- What Is Reinforced Masonry
- What Is Workability
- What Is Bond Breaker
- What Is Plasticizer in Concrete
- What Is Luminous Flux Vs Lumens
- What Is Caisson
- What Is a Benchmark Surveying
- What Is Bracing in Construction
- What Is a Beam in Construction
- What Is the Standard Door Frame Size
- What Is a Spandrel Beam
- What Is a Weep Hole
- What Is Tie Beam
- What Is Fine Aggregate
- What Is Pony Wall
- What Is Flag Stone
- What Is Development Length
- What Is Cement Plaster
- What Is a Pitched Roof
- What Is a Slab in Construction
- What Is a Monolithic Slab
- What Is Linear Distance
- What Is Shovel
- What Is Lintel in Construction
- What Is a Concept Sketch
- What Is Mezzanine Floor
- What Is Man Sand
- What Is Plaster Made Out of
- What Is a Floating Slab
- What Is Falsework
- What Is Bituminous
- What Is a Spillway
- What Is Curb and Gutter
- What Is Dampness
- What Is Lap Length
- What Is the Full Form of Fsi
- What Is Door Frame
- What Is Plinth Protection
- What Is Traffic Rotary
- What Is Grade Slab
- What Is Rolling Margin of Steel
- What Is Modulus of Rupture
- What Is Fresh Concrete
- What Is Dpc in Construction
- What Is Earthen Dam
- What Is Plum Concrete
- What Is Shell Structure.
- What Is Lumber
- What Is the Strongest Foundation for a House
- What Is the Meaning of Soundness of Cement
- What Is Flyover Bridge
- What Is Under Reamed Pile
- What Is Weir
- What Is Inverted Beam
- What Are the Advantages of Levelling?
- What Is Sunk Slab
- What Is Brick Bat Coba
- What Is Isolated Footing
- What Is Long Column
- What Is Plate Load Test
- What Is Formwork
- What Is Concealed Beam
- What Is Acp
- What Is Wbm Road
- What Is Slab
- What Is Quick Setting Cement
- What Is Rapid Hardening Cement
- What Is Perennial Canal
- What Is Wpc Board
- What Is Grade of Cement
- What Is Culvert Bridge
- What Is Ferrocement
- What Is Mortar in Construction
- What Is Floating House
- What Is Combined Footing
- What Is Estimation?
- What Is the Si Unit of Weight
3. Cracking in Plaster
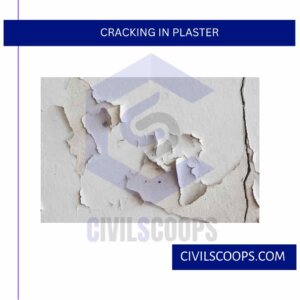
These are cracks developed on the plastered surface due to the movement of background or structure surrounding it.
Cracks in the plaster may result due to different reasons: Evaporation if the wall is not protected from sun and wind which can cause map cracking or dry shrinkage cracks.
Suction into the walls if the blocks are absorbent and they have not been dampened which might cause drying shrinkage cracks.
Also Read: What Is Paint Finishes for Walls | Types of Paint Finishes | Types of Paint Finishing
4. Crazing in Plaster
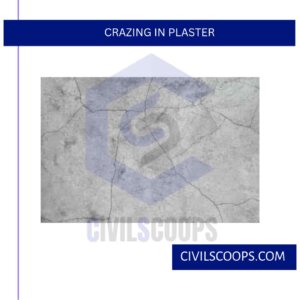
Hair cracks develop on the finished surface in an irregular pattern called crazing. Crazing is a network of fine cracks, usually in a hexagonal pattern, which measures between 5 and 75 mm across each hexagon.
Crazing often occurs within a few hours of the plaster being applied to the wall and cracks may hardly be visible until dust or moisture makes them noticeable.
5. Dado in Plaster
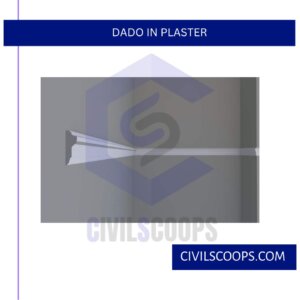
Dado is a special treatment given to the lower part of wall so that the wall can with-stand erosive forces. Dado rail, or chair rail, is a type of moulding fixed horizontally at roughly one-third the ceiling height to the wall around the perimeter of a room.
Our Dado Rails are made from high-quality plaster in a variety of styles suited to all types of rooms.
6. Dubbing Coat in Plaster
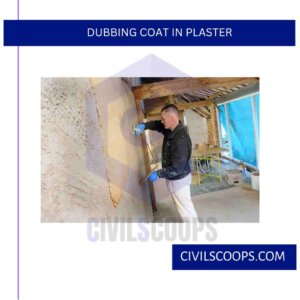
Before applying plaster, the hollow spaces in the solid background are filled. This process is called the dubbing coat process.
Dub-out the walls with the haired base-coat plaster (in coats not greater than 9mm) were necessary to create an even surface for the first or scratch coat (so that each subsequent coat of lime plaster can then be applied at the same thickness), this should be left to harden before applying the first coat.
7. Dots in Plaster
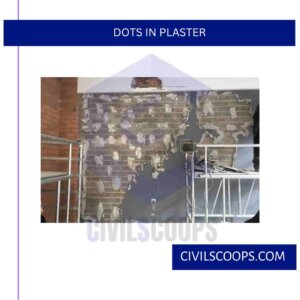
Small projection laid on background for fixing screeds etc. is called dots. It is size may be 150 mm x 150 mm
At one end of the wall we stick two small pieces of flat wood (thin ply) on some blobs of plaster; one near the top of the wall, and one near the bottom. These are the “Dots“.
8. Finishing Coat Plaster
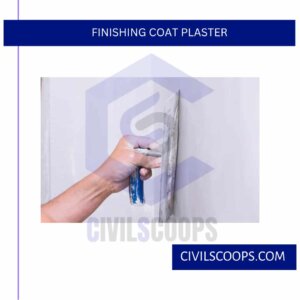
It is the final coat of plaster. Such a coat is known as setting a coat or skimming coat.
9. Flaking Plaster
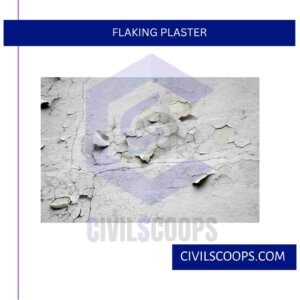
A solution would be to scrape off the flaking parts over a slightly larger area, re-plaster that area and apply a primer coat once the plaster has completely dried. Only then should you repaint either the whole wall or just that portion.
10. Gauging in Plaster
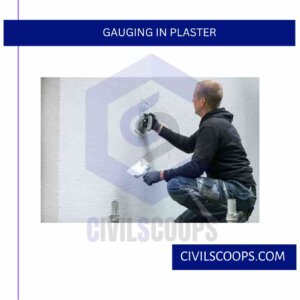
Gauging Plaster is designed for use with finish lime. It is specially ground, calcined gypsum, which readily mixes with water and lime putty.
A finish coat of gypsum gauging plaster and finish lime is designed primarily for interior smooth trowel application over a gypsum plaster basecoat.
11. Grounds in Plaster
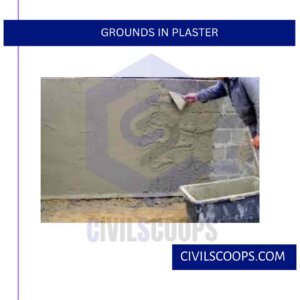
These are wooden strips. These strips are fixed to the background in which the primary finishing coat may be secured.
12. Hacking for Plaster
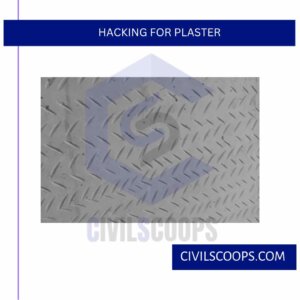
The process in which the surface of the background is roughened to provide a suitable key for plastering is called hacking.
Hacking refers striking of surfaces such as RCC walls, columns, beams, slabs etc., with a chisel to dent the surface in order to create a proper mechanical bond with cement mortar/gypsum plaster directly applied on it.
13. Keys in Plaster
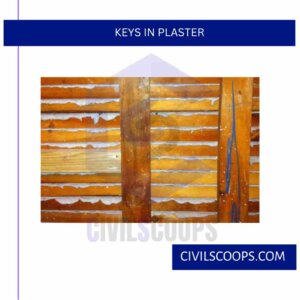
The opening or indentations or corrugation on the background or surface of undercoat from mechanical bound with plaster is called a key.
14. Laitance Plaster
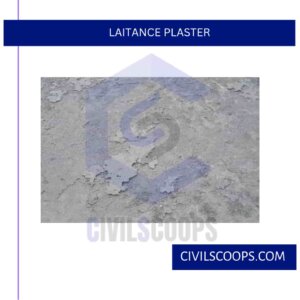
A screen consisting of particles thin layer of fine cement particles is formed due to excessive trowelling or freshly laid concrete. It is called laitance.
15. Peeling in Plater
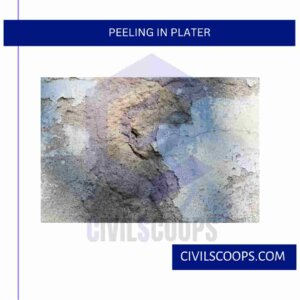
Peeling from plaster could be a result of insufficient wet troweling of the white coat when the plaster was originally applied, causing chalking of the surface. Very hard plaster may be slick, reducing the adhesion of any coating.
16. Undercoat Plaster
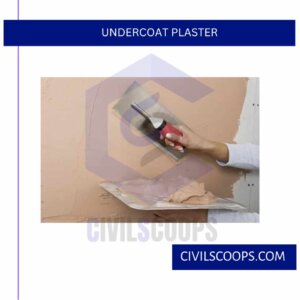
All the coats of plaster applied under the finishing coat are called undercoat.
Tools For Plastering
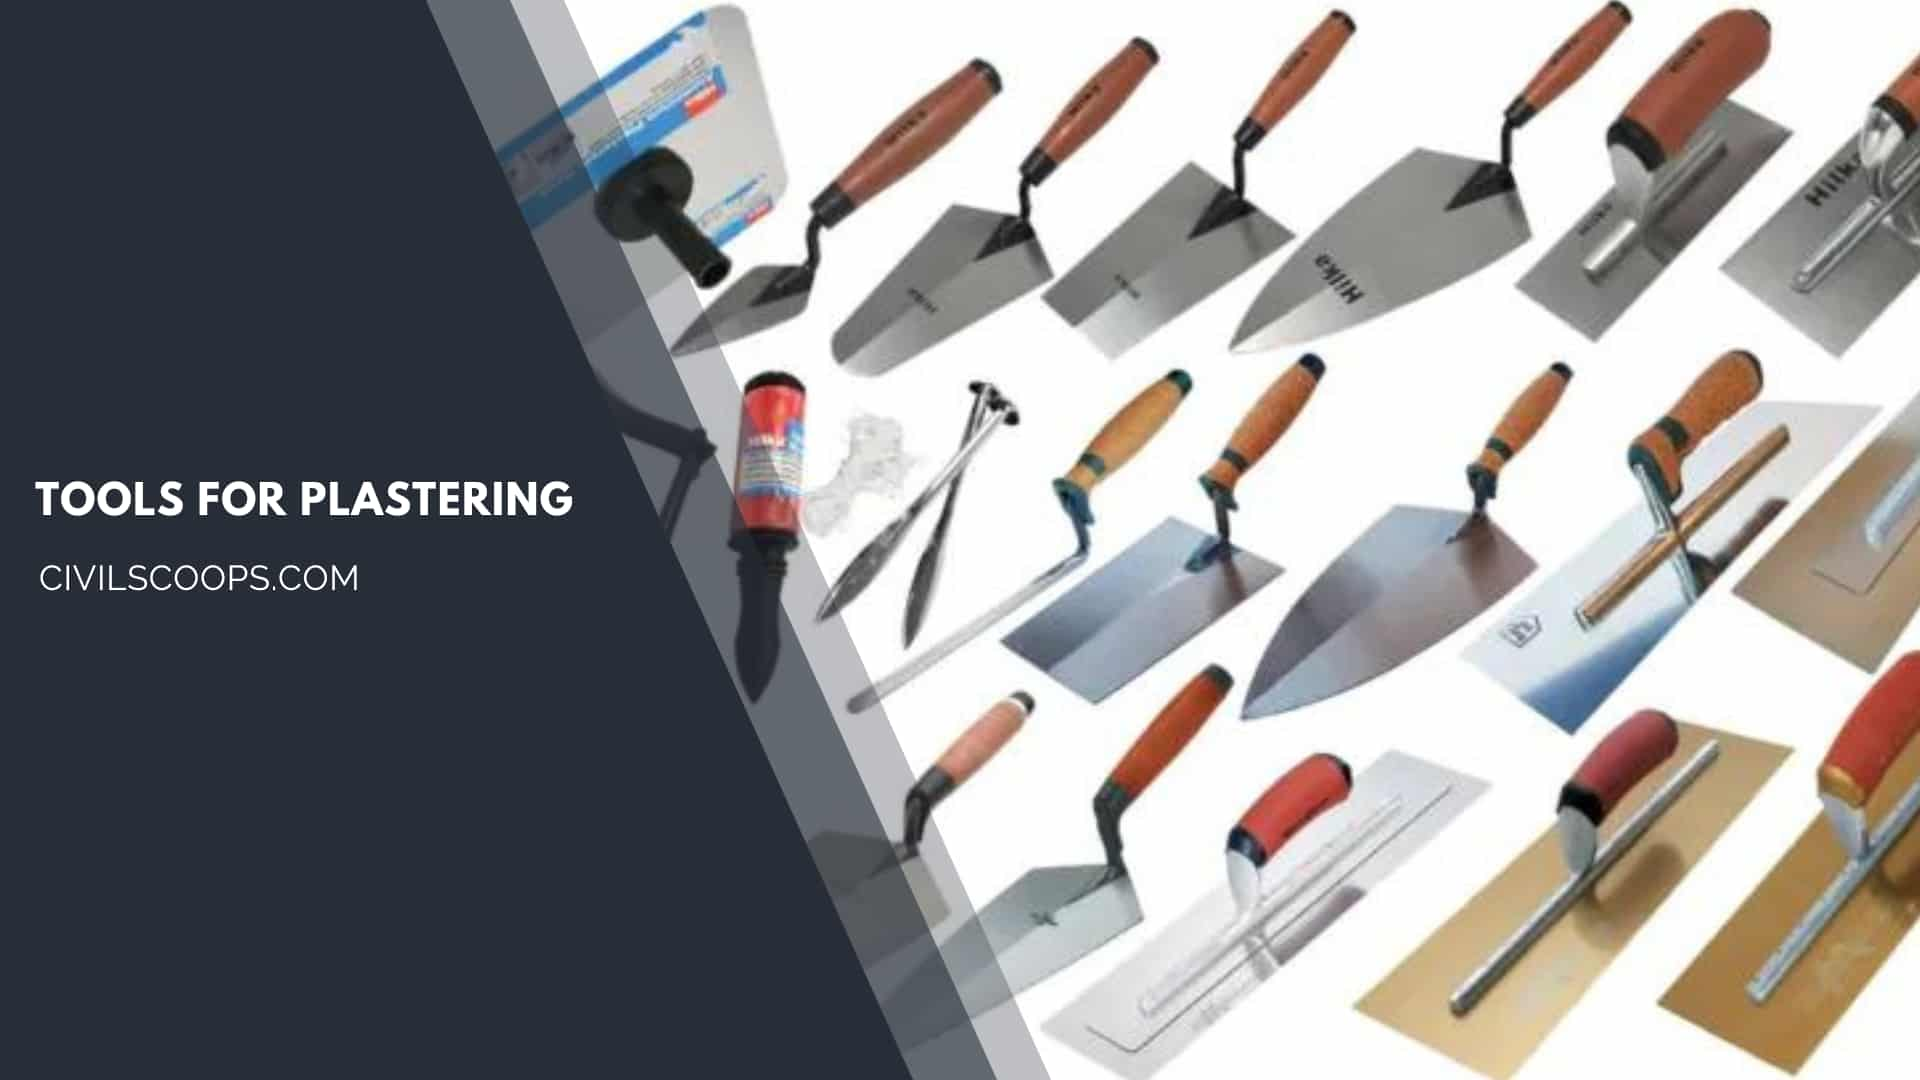
Following tools are used for plastering:
- Trowel.
- Float.
- Floating Rule.
- Plumb Bob.
1. Trowel
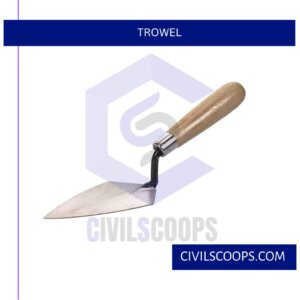
Trowels used for mixing mortar. Trowels are 150 mm to 450 mm. A few of the above are blunt-ended, and a few are point-ended. A trowel is a small hand tool used for digging, applying, smoothing, or moving small amounts of viscous or particulate material.
2. Float
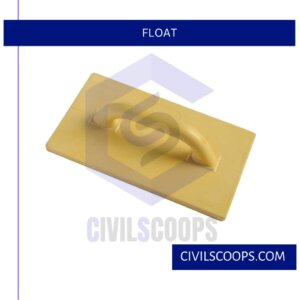
A float is used for spreading the motor on the surface of the wall. It can be of metal or wood. Wooden float is prepared by fixing the handle on a 10 mm thick wooden board. It is used to finish the coat. It is called skimming float.
Useful Article for You
- How Wide Is a Cinder Block
- How Much Is a Coffered Ceiling
- How to Make Mortar
- How Long Does Hempcrete Last
- How to Use a Hand Sight Level
- How to Build a Lean to Roof
- How Are Tunnels Built
- How to Layout a Building
- How Wide Is a Car Parking Space
- How Do Shear Walls Work
- How to Measure Concrete Slump
- How to Use Washers with Screws
- How Dense Is Sand
- How High Is a Window from the Floor
- How Does a Beam Bridge Work
- How Do They Pour Concrete Under Water
- How Does a Sewer System Work
- How High Are Countertops
- How to Seal Brick Wall Interior
- How to Resurface Cement
- How to Use Portland Cement
- How Is Plaster Made
- How Many Types of Slope Are There
- How Big Is a Stair Landing
- How to Get Paint Off Concrete Without Chemicals
- How to Fix Water Damaged Drywall
- How Much to Get Septic Pumped
- How to Cut a Nail or Screw
- How Long Does Wet Concrete Take to Dry
- How Is Varnish Made
- How Does Ejector Pump Work
- How Does Hydrometer Work
- How to Get Wet Blood Out of Carpet
- How to Build House on Slope
- How Thick Is Plaster Wall
- How Suspension Bridges Work
- How to Seal a Concrete Roof
- How Was Cement Invented
- How to Calculate Area of Steel
- How to Check Silt Content in Sand
- How a Building Is Constructed
- How Are Roads Classified in India
- How Many Types of Cement in India
- How to Find Contour Interval
- How Hardness of Brick Is Tested
- How Many Types of Paint Brushes Are There
- How to Calculate Skirting Area
- How Many Types of Beam
- How Many Types of Chain in Surveying
- How to Find One Way and Two Way Slab
- How Many Types of Houses
- How to Find Steel Bar Weight
- How to Calculate Septic Tank Capacity in Liters
- How to Calculate the Bearing Capacity of Soil
- How Many Types of Bricks Are There
- How Many Types of Cement Are There
- How to Make Block
- How Many Types of Bridge
- How Much Sand Required for 1 Sq.feet Area
- How to Texture Walls with Paint
- How Many Type of Beam
- How Is Tar Made
- How to Stop Water Leakage from Terrace
- 1cum How Many Bricks
- How to Calculate Shear Force and Bending Moment
- How to Building
- How to Calculate Fineness Modulus
- How to Find Zero Force Members in a Truss
3. Floating Rule

It is used for checking the level of the plastered surface between successive screens. Floating Rules are a special type of advanced rule that can perform complicated actions not possible with rules on interface or group tabs. Floating rules can act on multiple interfaces in the inbound, outbound, or both directions.
4. Plumb Bob

It is used for vertically of the plaster. Over and above this, spirit level, brush, set square, etc. are used for plastering. A plumb bob, or plummet, is a weight, usually with a pointed tip on the bottom, suspended from a string and used as a vertical reference line, or plumb-line. It is a precursor to the spirit level and used to establish a vertical or horizontal datum.
Preparation of Background for Plastering
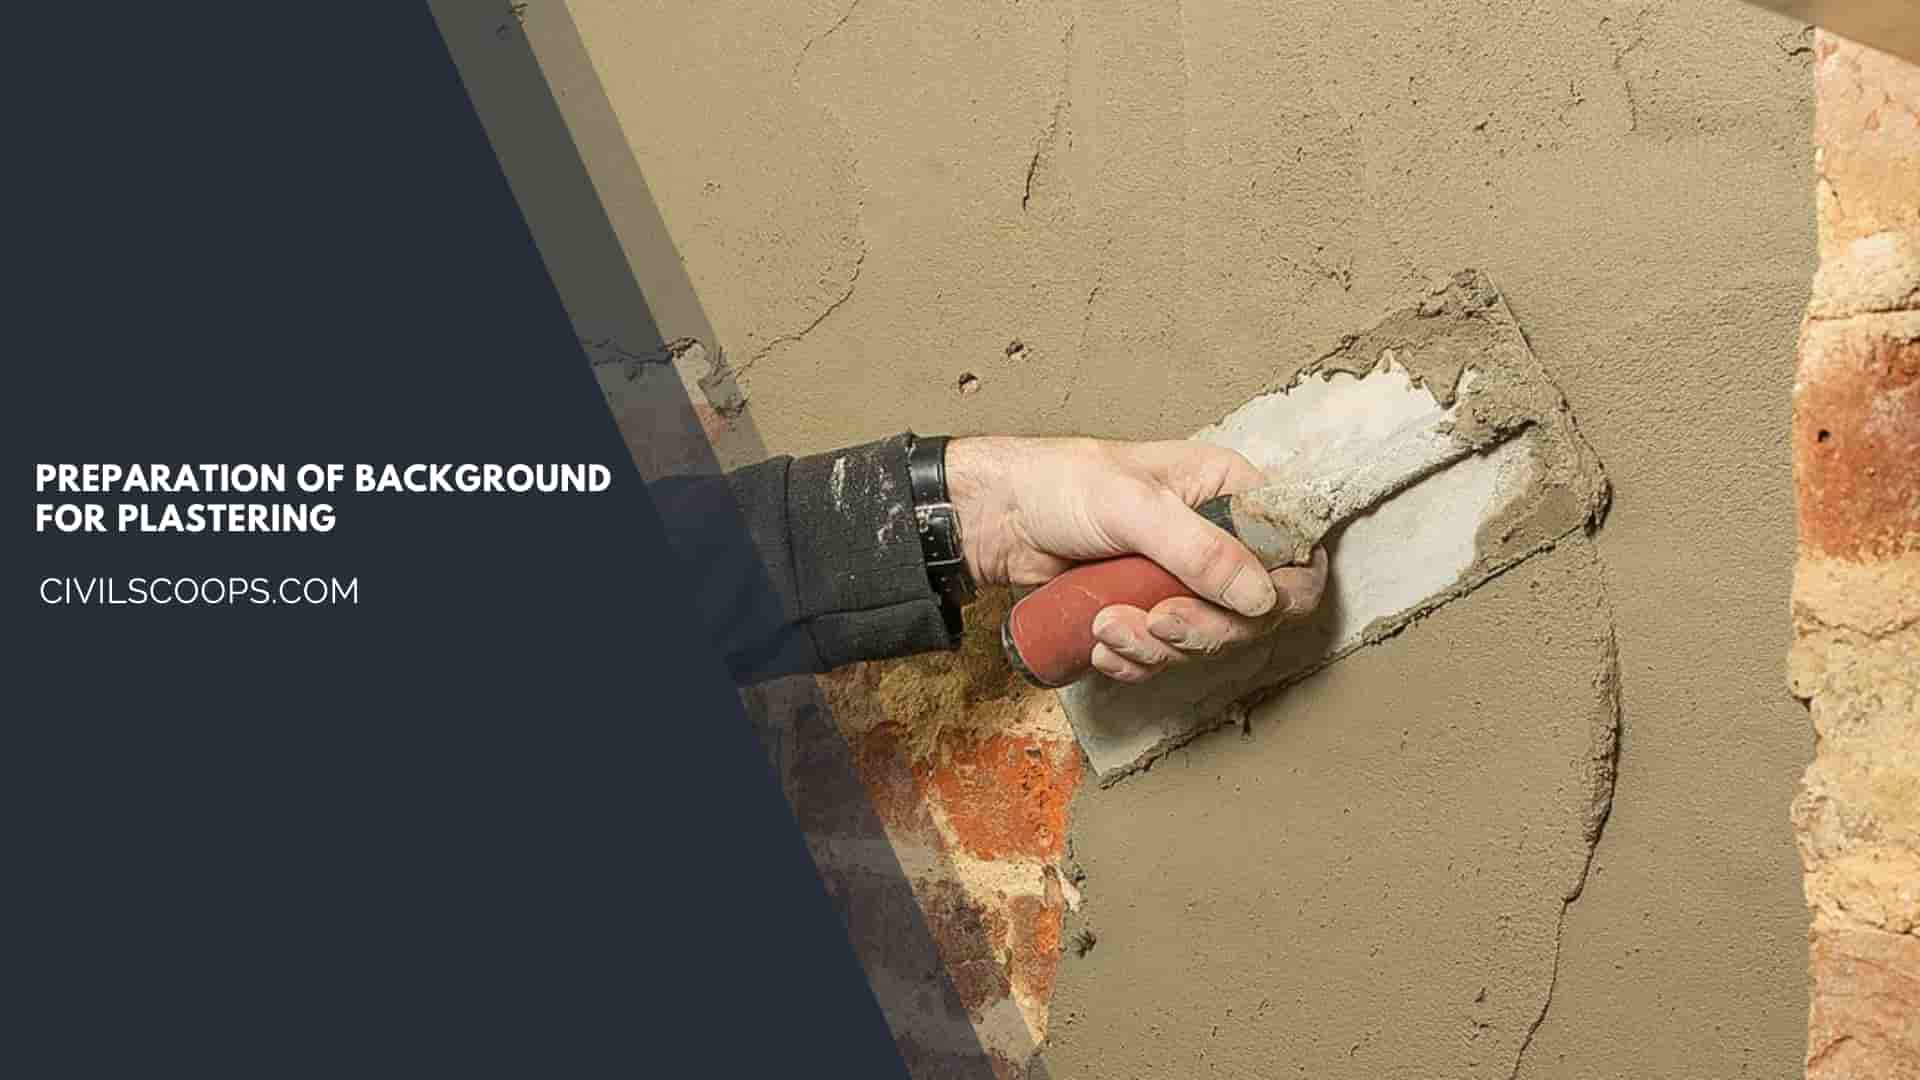
- Before applying plaster on the surface of the wall, all the masonry joints are raked out to a depth of 10 mm. in brick masonry and increase of stone masonry up to 15 mm, joints are raked out.
- The racking out of joints provide the key to the plaster all dirt like dust and mortar droppings, etc. should be cleaned with a wire brush.
- All uneven surfaces are levelled before rendering is applied. The surface should be washed with clean water and kept damp uniformly.
- In case the plater is to be applied on the old surface, the surface should be cleaned. Old loose plaster should be broken surface should be washed with water, and joints should be racked out.
Methods of Plastering
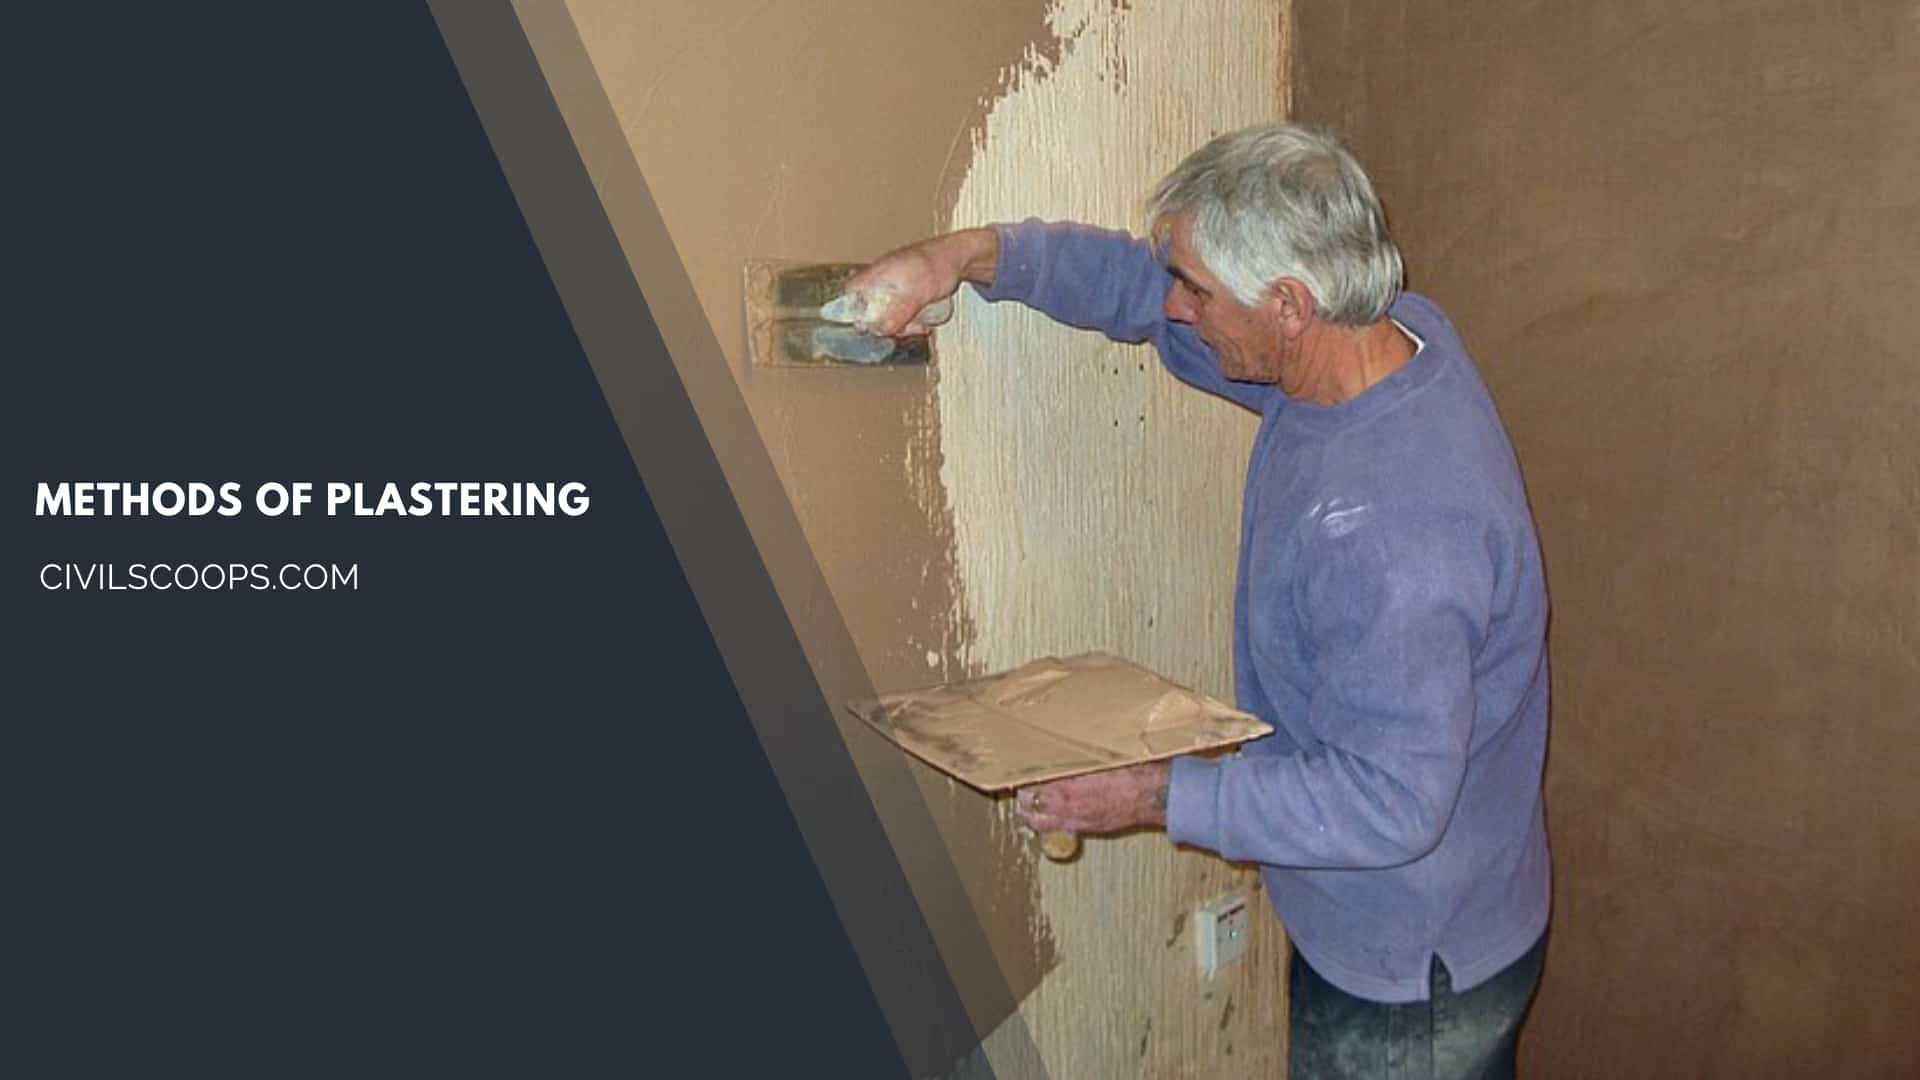
- Three coat plaster
- Application of rendering coat
- Application of floating coat
- Application of finishing coat
- Two coat plaster
- Single coat plaster
- Cement Plaster and Cement Lime Plaster
- Plaster on lath
- Wooden laths
- Metal laths
[su_box title=”FAQ” style=”default” box_color=”#333333″ title_color=”#FFFFFF” radius=”3″ class=”” id=””]
What Tools Do I Need to Plaster a Wall?
- Plastering trowel. This is definitely the most important tool.
- Bucket trowel. This one isn’t as important.
- Plasterer’s hawk/hand board. This is another important one because this is the tool that holds your plaster.
- Mixer. Gone are the days where all we had for tools was a spade and a hammer.
What Is a Plastering Float Used For?
A plaster or render float is a flat, rectangular tool used to smooth and finish the surface of plaster or render. It’s usually made of metal, wood, or plastic and has a handle on one end. The float is used to smooth and level the plaster or render as it is applied to the surface, with the flat surface facing downward.
What Tools Are Needed for Plastering?
- Hawk
- Trowel
- Snips
- Dethatcher
- Spatula
Plaster Blistering
You see, bubbling plaster is often the result of moisture and damp within the wall. This can be caused by various reasons, such as poor ventilation from dirty wall vents, leaks, no damp-proofing or even high humidity levels. Another factor to consider is the use of salts in the plaster mixture.
What Tools Do Plasterers Use?
- Corner Trowel.
- Powermixer.
- Spatula.
- Plasterers Float.
- Plasterers Rule.
- Scarifier.
What Trowel for Plastering?
Arguably, stainless steel trowels remain the best trowel for applying the first few coats of plaster so we recommend every plasterer’s tool kit includes a stainless steel trowel. Plastic plastering trowels are a fantastic addition if you are looking for a top-quality finish.
How to Check Wall Plaster Level?
Check Levels and Undulations
The minimum thickness of mortar maintained by fixing button marks on plastering surface . In addition, the distance of button marks should be within an aluminium straight edge. All marks on wall are to be in level from ceiling . Check for smooth finish using spirit levels for undulations.
Cracks in Plaster Walls
Plaster cracks are small fractures within plastered walls. While they may sound concerning, most plaster cracks are extremely common and normal. For most properties, slight cracks occur as the plaster dries and shrinks.
Best Filler for Cracks in Plaster Walls
However, a plaster filler like Polyfilla or a powder filler are probably the best options for filling plaster cracks, as alternatives such as caulk are best used for other purposes, like sealing gaps around pipes or tiles.
Tools for Plastering
Essential tools for plastering include a hawk, trowels (finishing, pointing, and margin), plastering float, plasterer’s brush, jointing knife, bucket trowel, mixer, spatula, scratcher/scarifier, plastering rule, sanding tools, corner tools, and protective gear (goggles, gloves, mask, knee pads).
Plastering Materials Names
- Trowel
- Hawk
- Acoustic plaster
- Browning plaster
- Bucket
Crazing in Plaster
These cracks usually result from over-trowelling a rich mix (one with a high cement content) or using a sand containing an excessive amount of dust. Crazing often occurs within a few hours of the plaster being applied to the wall and cracks may hardly be visible until dust or moisture makes them noticeable.
Plaster Background
A background is the surface that the first coat of plaster is being applied to. Some backgrounds need preparing in order to make sure there is a good fixing. In plastering, every step is important to have a great end result, including the preparation.
Methods of Plastering
- Internal plastering on surfaces of brick and concrete.
- External wall plastering.
- Soffit plastering / Soffit finishing with cement based easy plaster material and wall putty.
- Improving joint of brick walls & structural concrete joints.
Cracking in Plaster
There are several reasons why this happens. Cracks can be the result of thermal movement, the settling of a foundation or sill work, or even exposure to moisture for an extended period of time. The extent of the crack can also vary across different plastering types.
Finishing Coat Plaster
Traditional plastering consists of three separate coats of plaster. The first two, called the brown and scratch coats, are coarse, often with sand, horsehair, and other binders added to the mix. The third or finish coat is a smoother blend, made of water and finely ground lime and plaster.
Flaking Plaster
Peeling from plaster could be a result of insufficient wet troweling of the white coat when the plaster was originally applied, causing chalking of the surface. Very hard plaster may be slick, reducing the adhesion of any coating.
Gauging Plaster
It is specially ground, calcined gypsum, which readily mixes with water and lime putty. Proper proportioning is essential since gauging adds strength and hardness to the finished surface by reinforcing the plastic non-setting lime against shrinkage and cracking.
Undercoat Plaster
An internal base coat plaster used to build up a suitable thickness of plaster before skim finishing with a Thistle skim finish plaster. Suitable for use on a wide range of internal backgrounds, including brick, blockwork and most smooth or low-suction backgrounds.
[/su_box]
[su_note note_color=”#F2F2F2 ” text_color=”#333333″ radius=”3″ class=”” id=””]
Like this post? Share it with your friends!
Suggested Read –
- What Is Staircase
- Civil Engineering Software
- West Point Bridge Designer
- What Is Water Cement Ratio
- All About Construction Contract
[/su_note]
Originally posted 2023-11-29 10:26:56.
